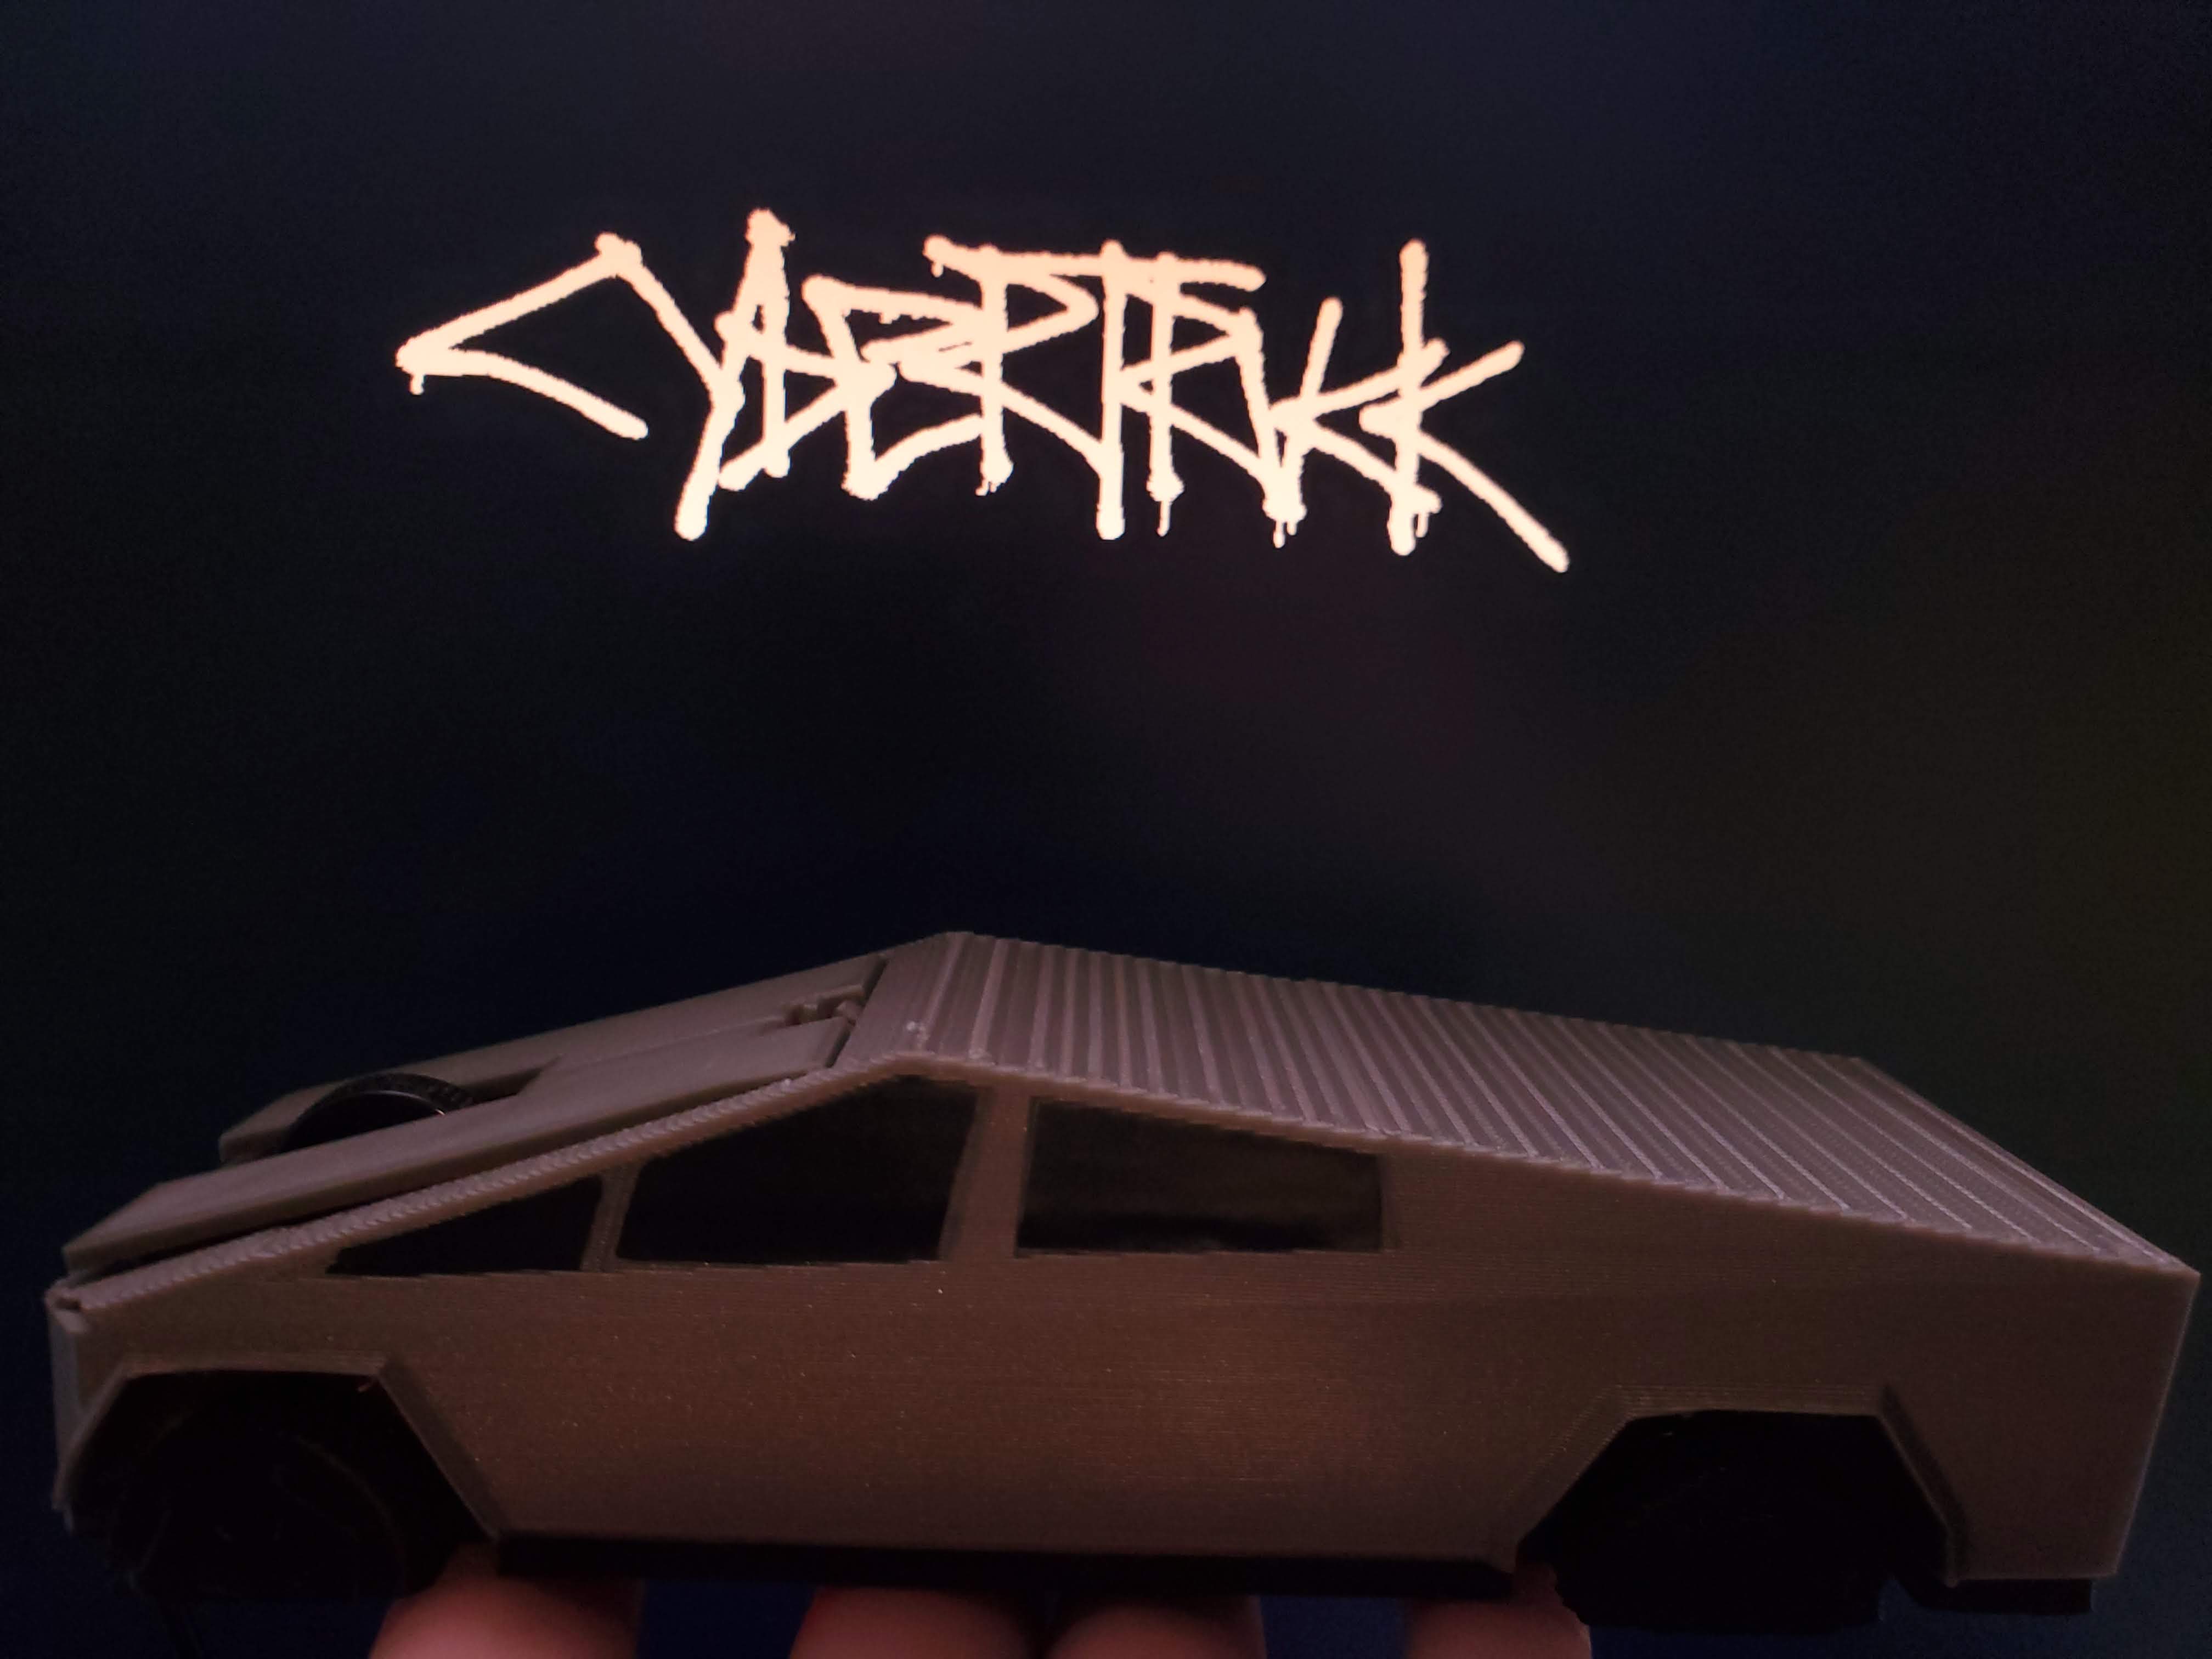


Working Tesla Cybertruck Mouse
The Idea
My Logitech G602 is messed up. It used to be able to go several months on one set of AA batteries, and my other G602, which is a year or two older, still can. One day, when the G602 had run out of batteries, I got annoyed. I went down to the basement, and instead of getting more batteries for it to gobble up, I grabbed the first wired mouse I could find. It was in the small box of electronics that had come with the house. Presumably, it was for the security camera system which no longer worked. When I started to use that cheap mouse, I began to wonder if it would be possible to remove the electronics from it and install them in some sort of a custom case to make a DIY mouse.Building the Mouse
This was actually very simple. All I had to do for disassembly was remove some screws from the cheap mouse and it came apart nicely. After taking some measurements off of the original case, I grabbed a Cybertruck model from the internet and started modifying it to fit the electronics. Similarly to my BART train, I decided the best way to go was to make a baseplate for everything to attach to, and then have a decorative cover. It took a few revisions to make the baseplate fit the PCB just right, and hold the scroll wheel. Once the baseplate was printed, I printed the cover, the part that makes it look like a Cybertruck. This by far took the longest to print, so I was happy when it worked the first time, with only a little bit of filing down. To finish up, I had to print the click buttons. All these have to do is rest on top of the actual buttons on the PCB, so that when they are pressed down, the button gets pressed. I printed them upside down so that the side touching the print bed, which is the smoothest, would be facing up. Once again, these took a few revisions before they would work without hitting the scroll wheel. With the click buttons on, the mouse was done.Cybermouse model files


