I Put Linux in My Car!
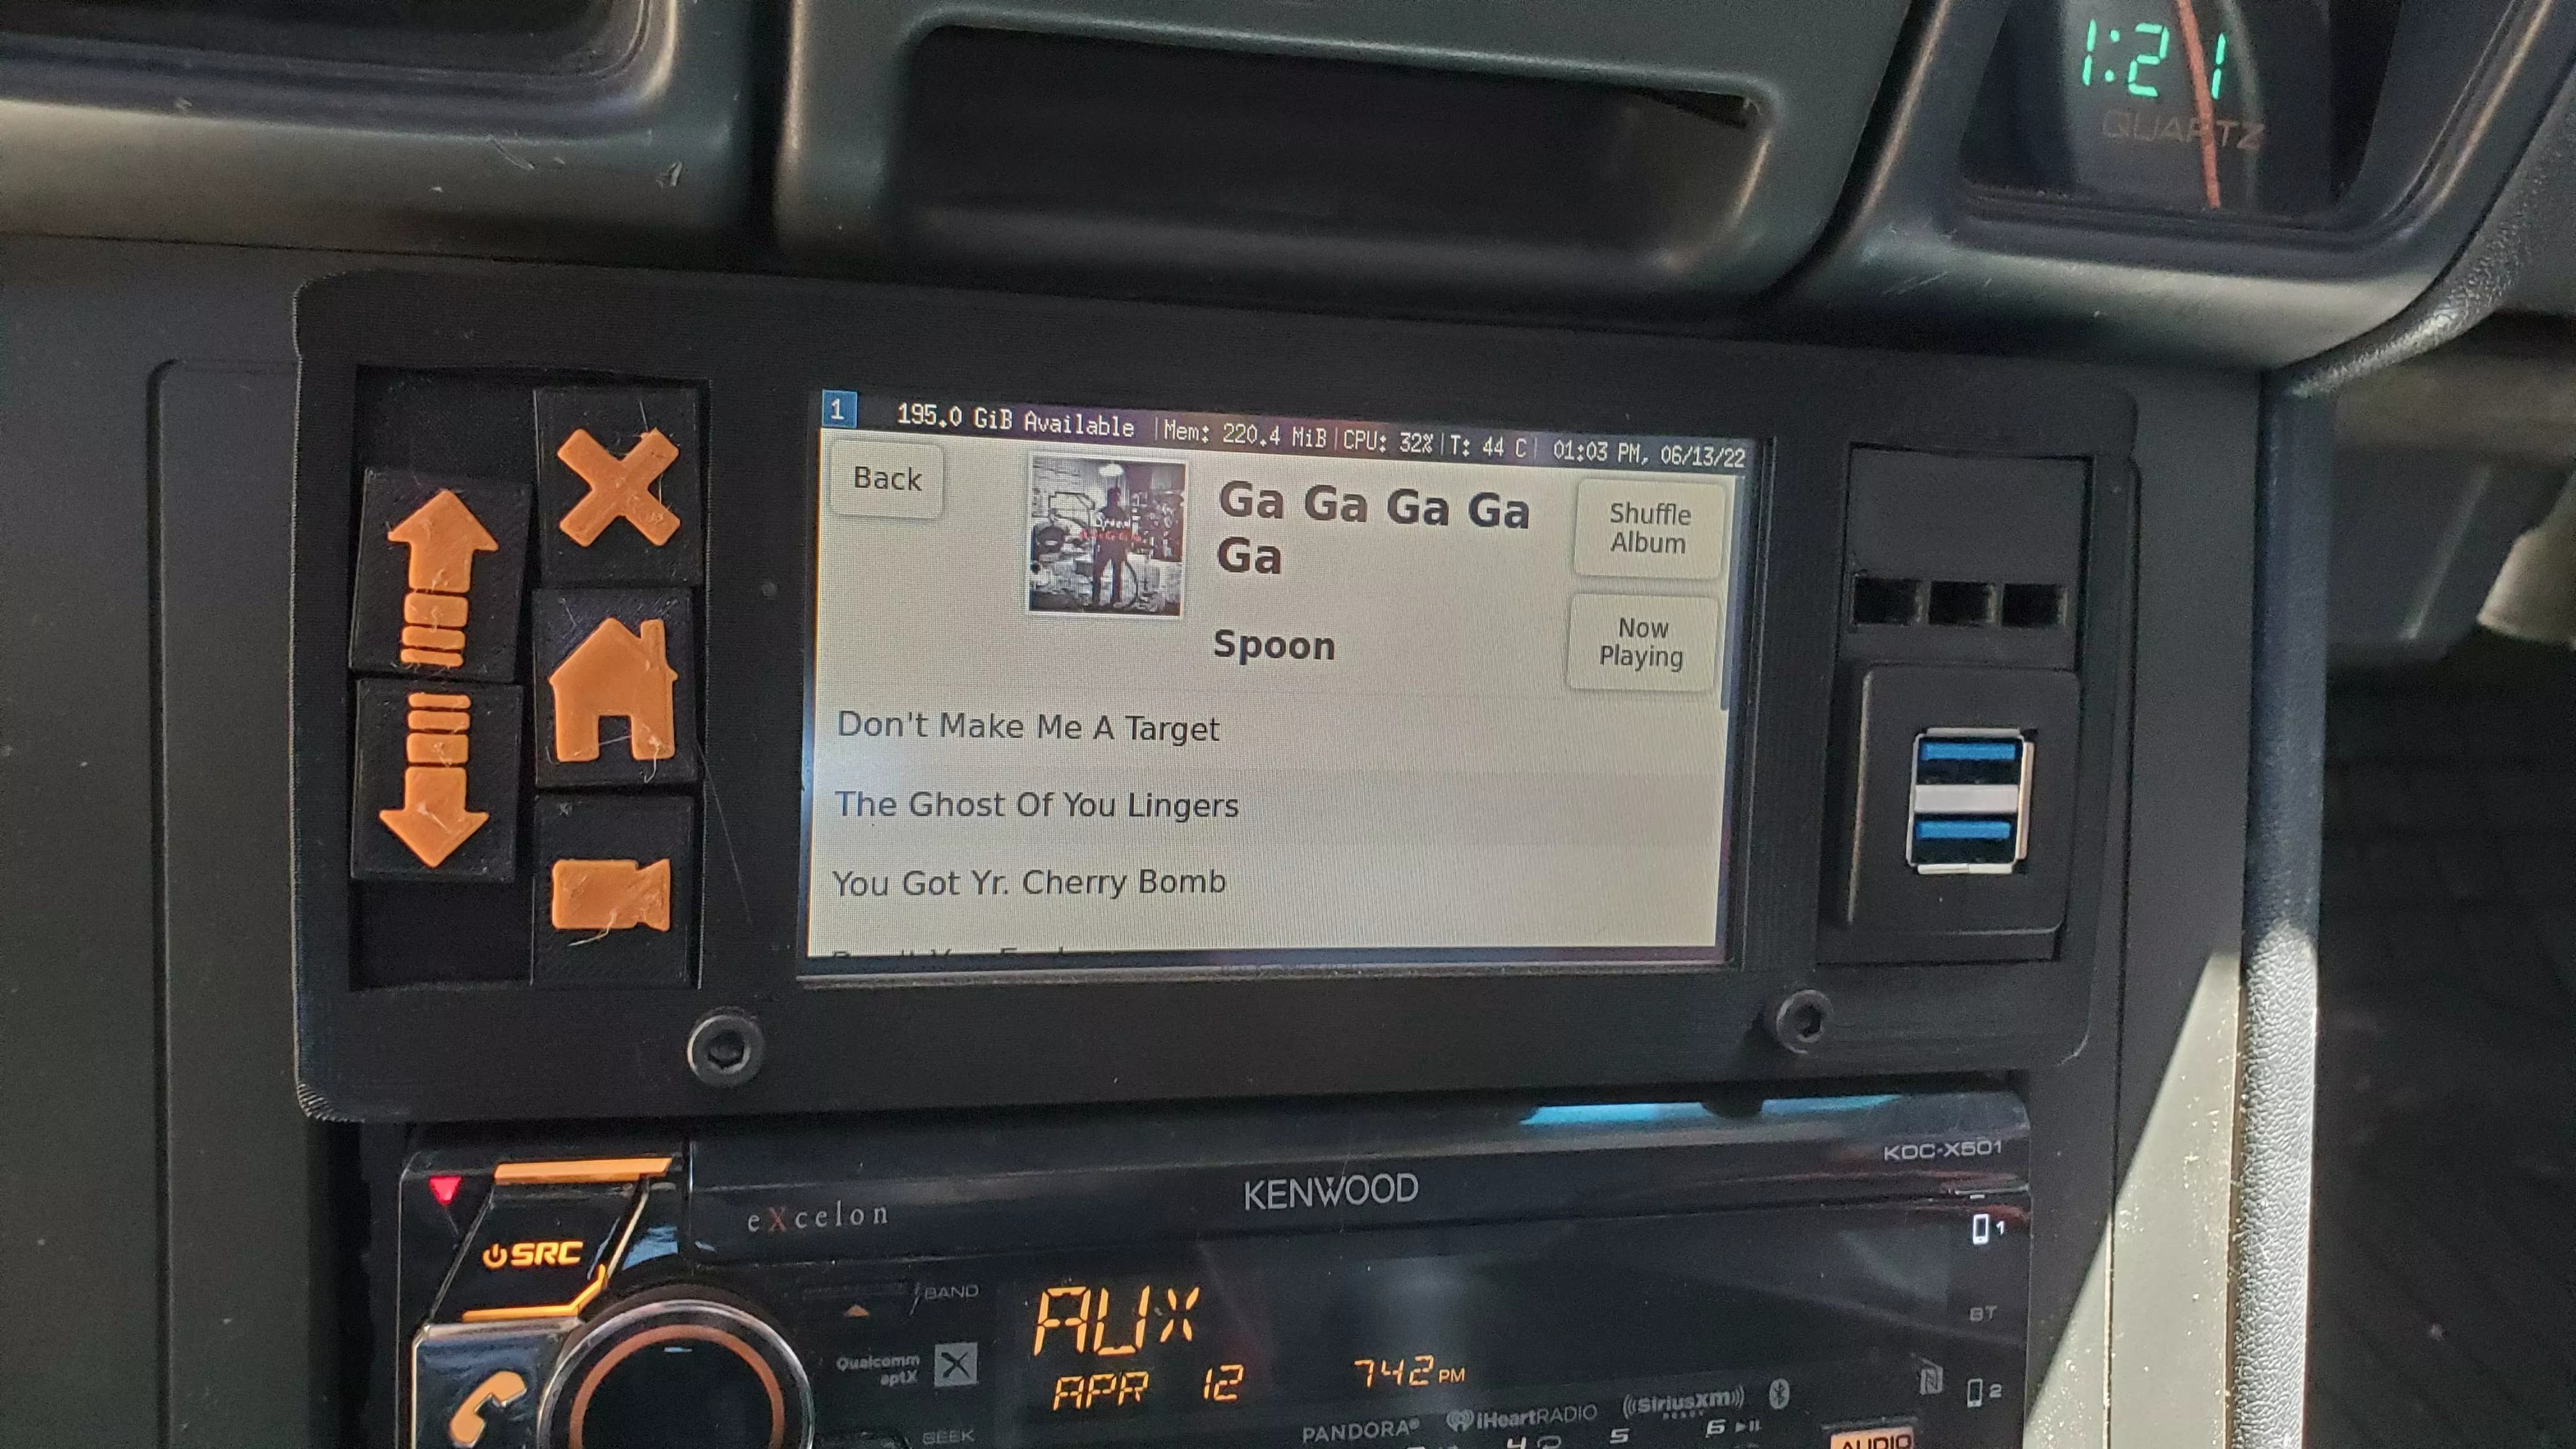
My car has an aftermarket radio that only takes up half of the available space, so I decided to try and cram a Raspberry Pi into that extra space.
Tamarack Source Code
RustyScanner Source Code
Choosing My Components
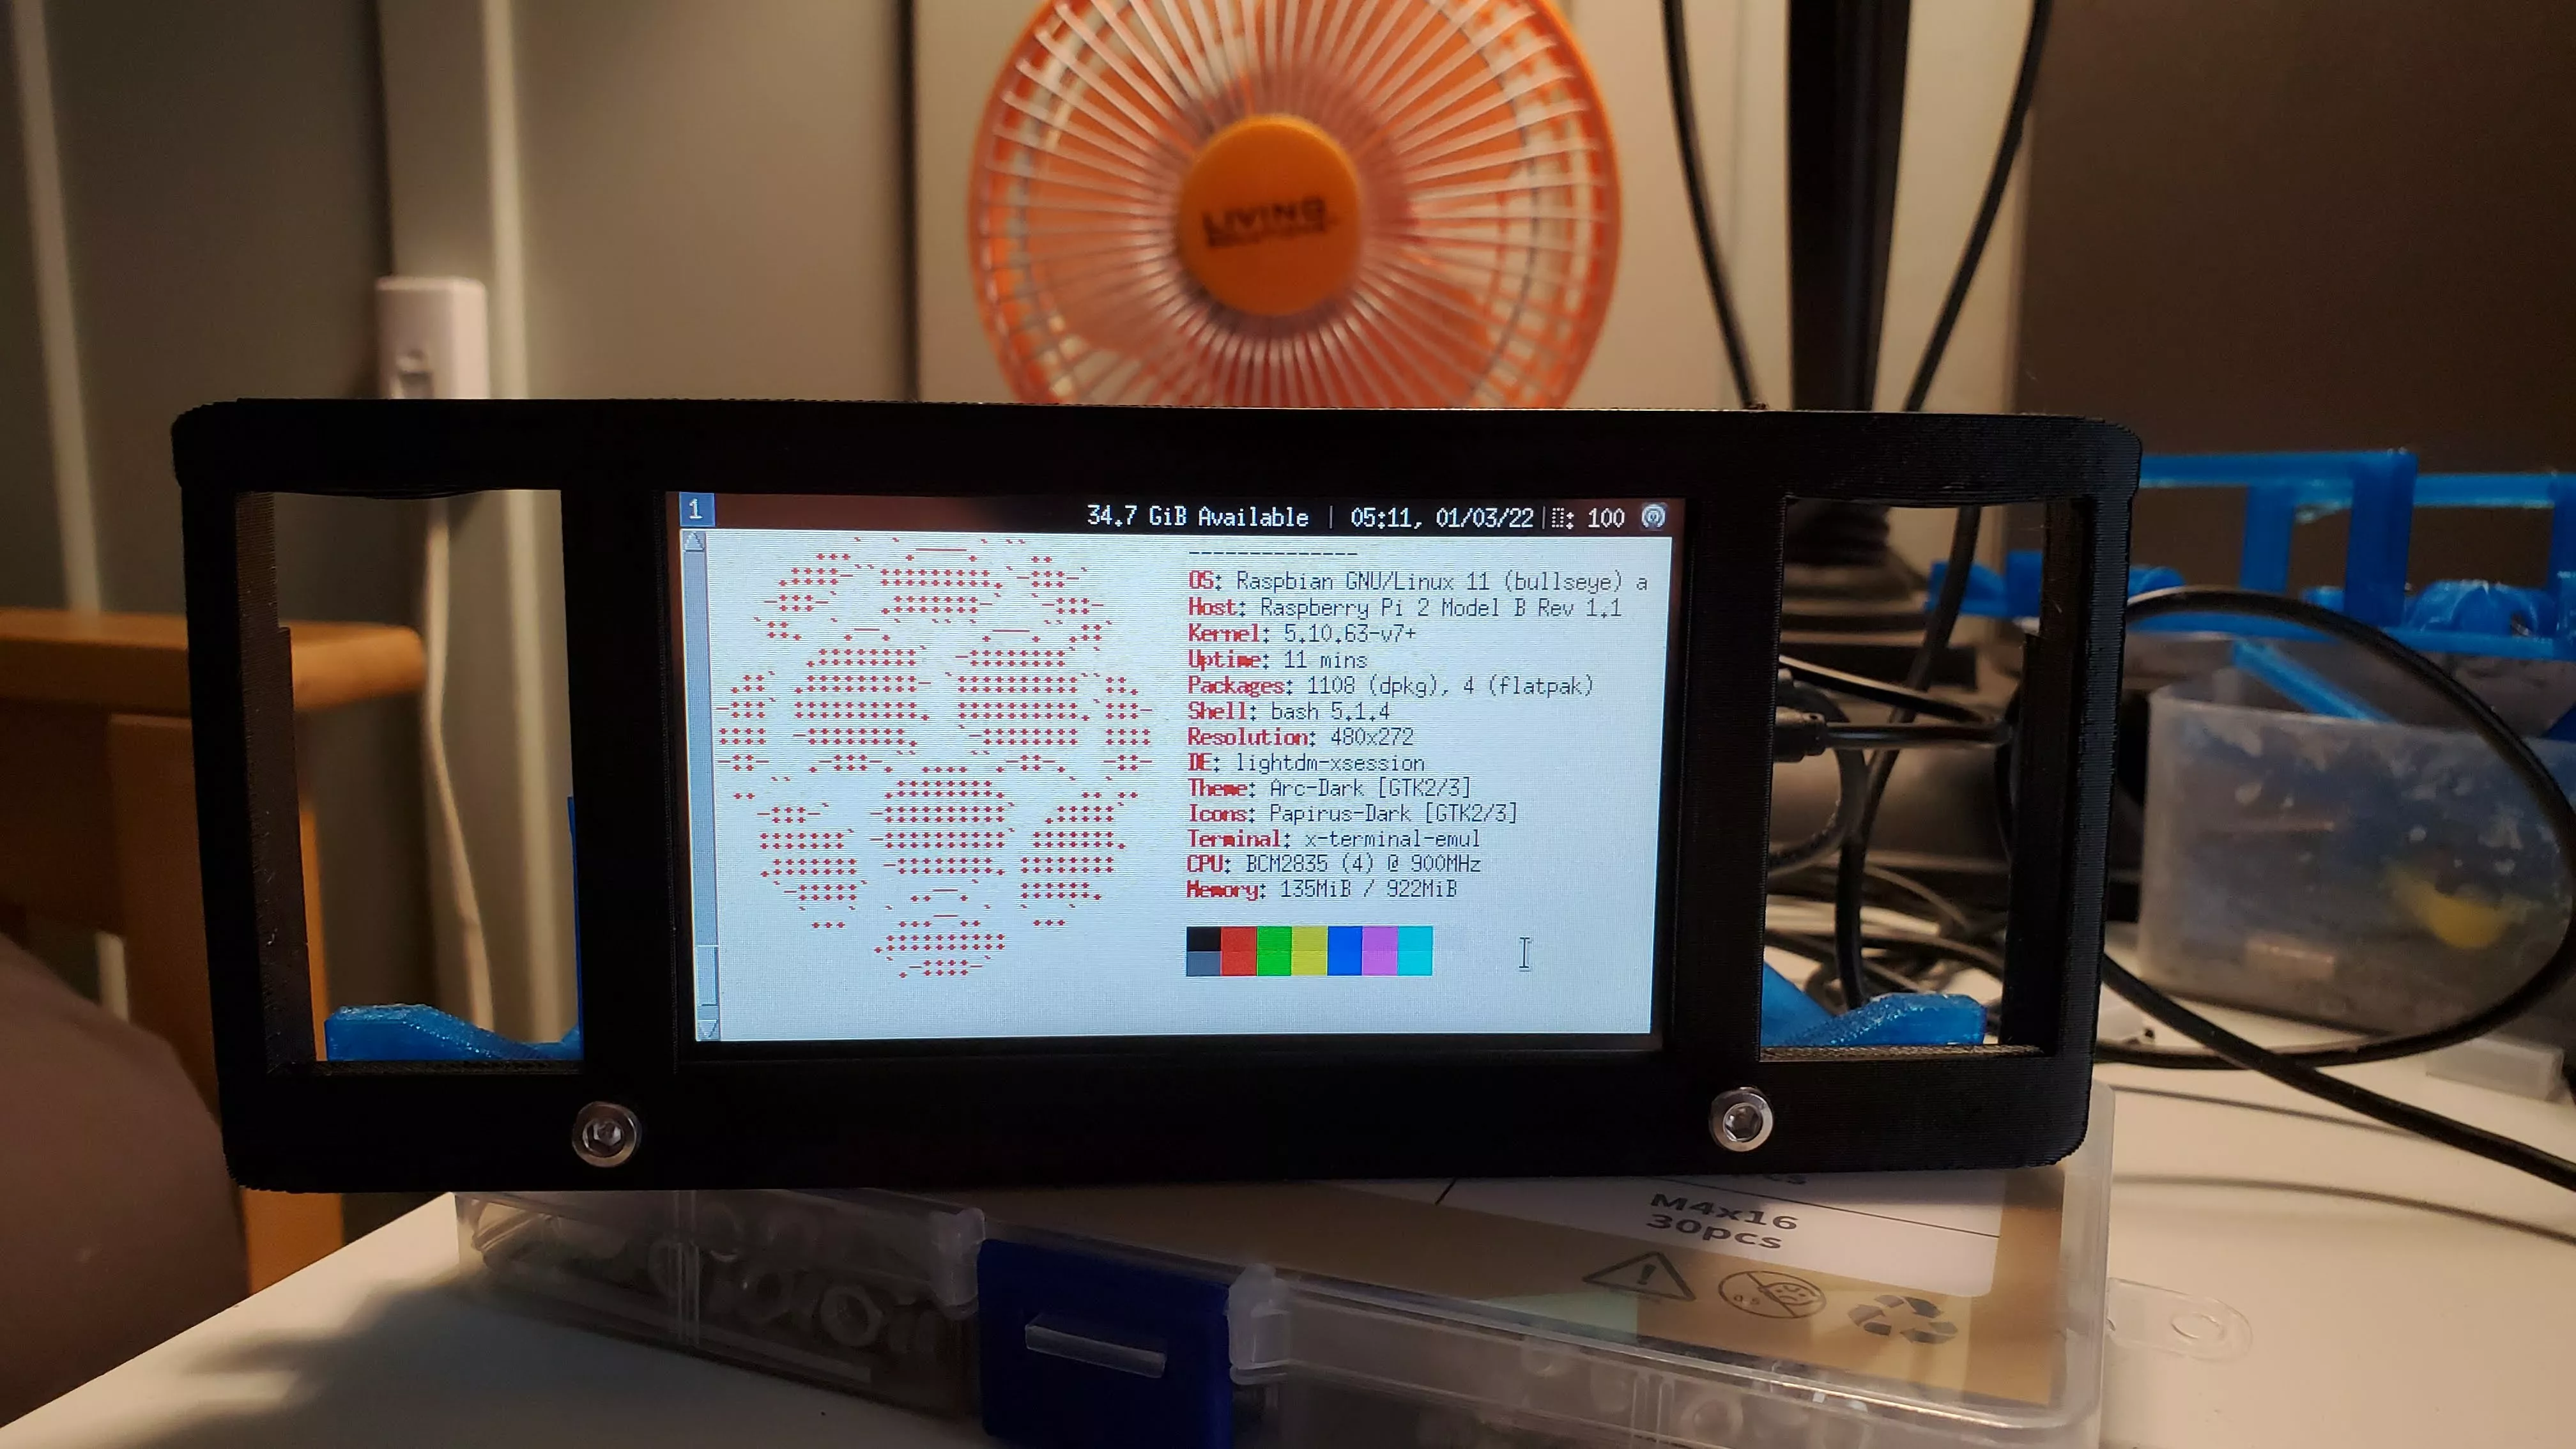
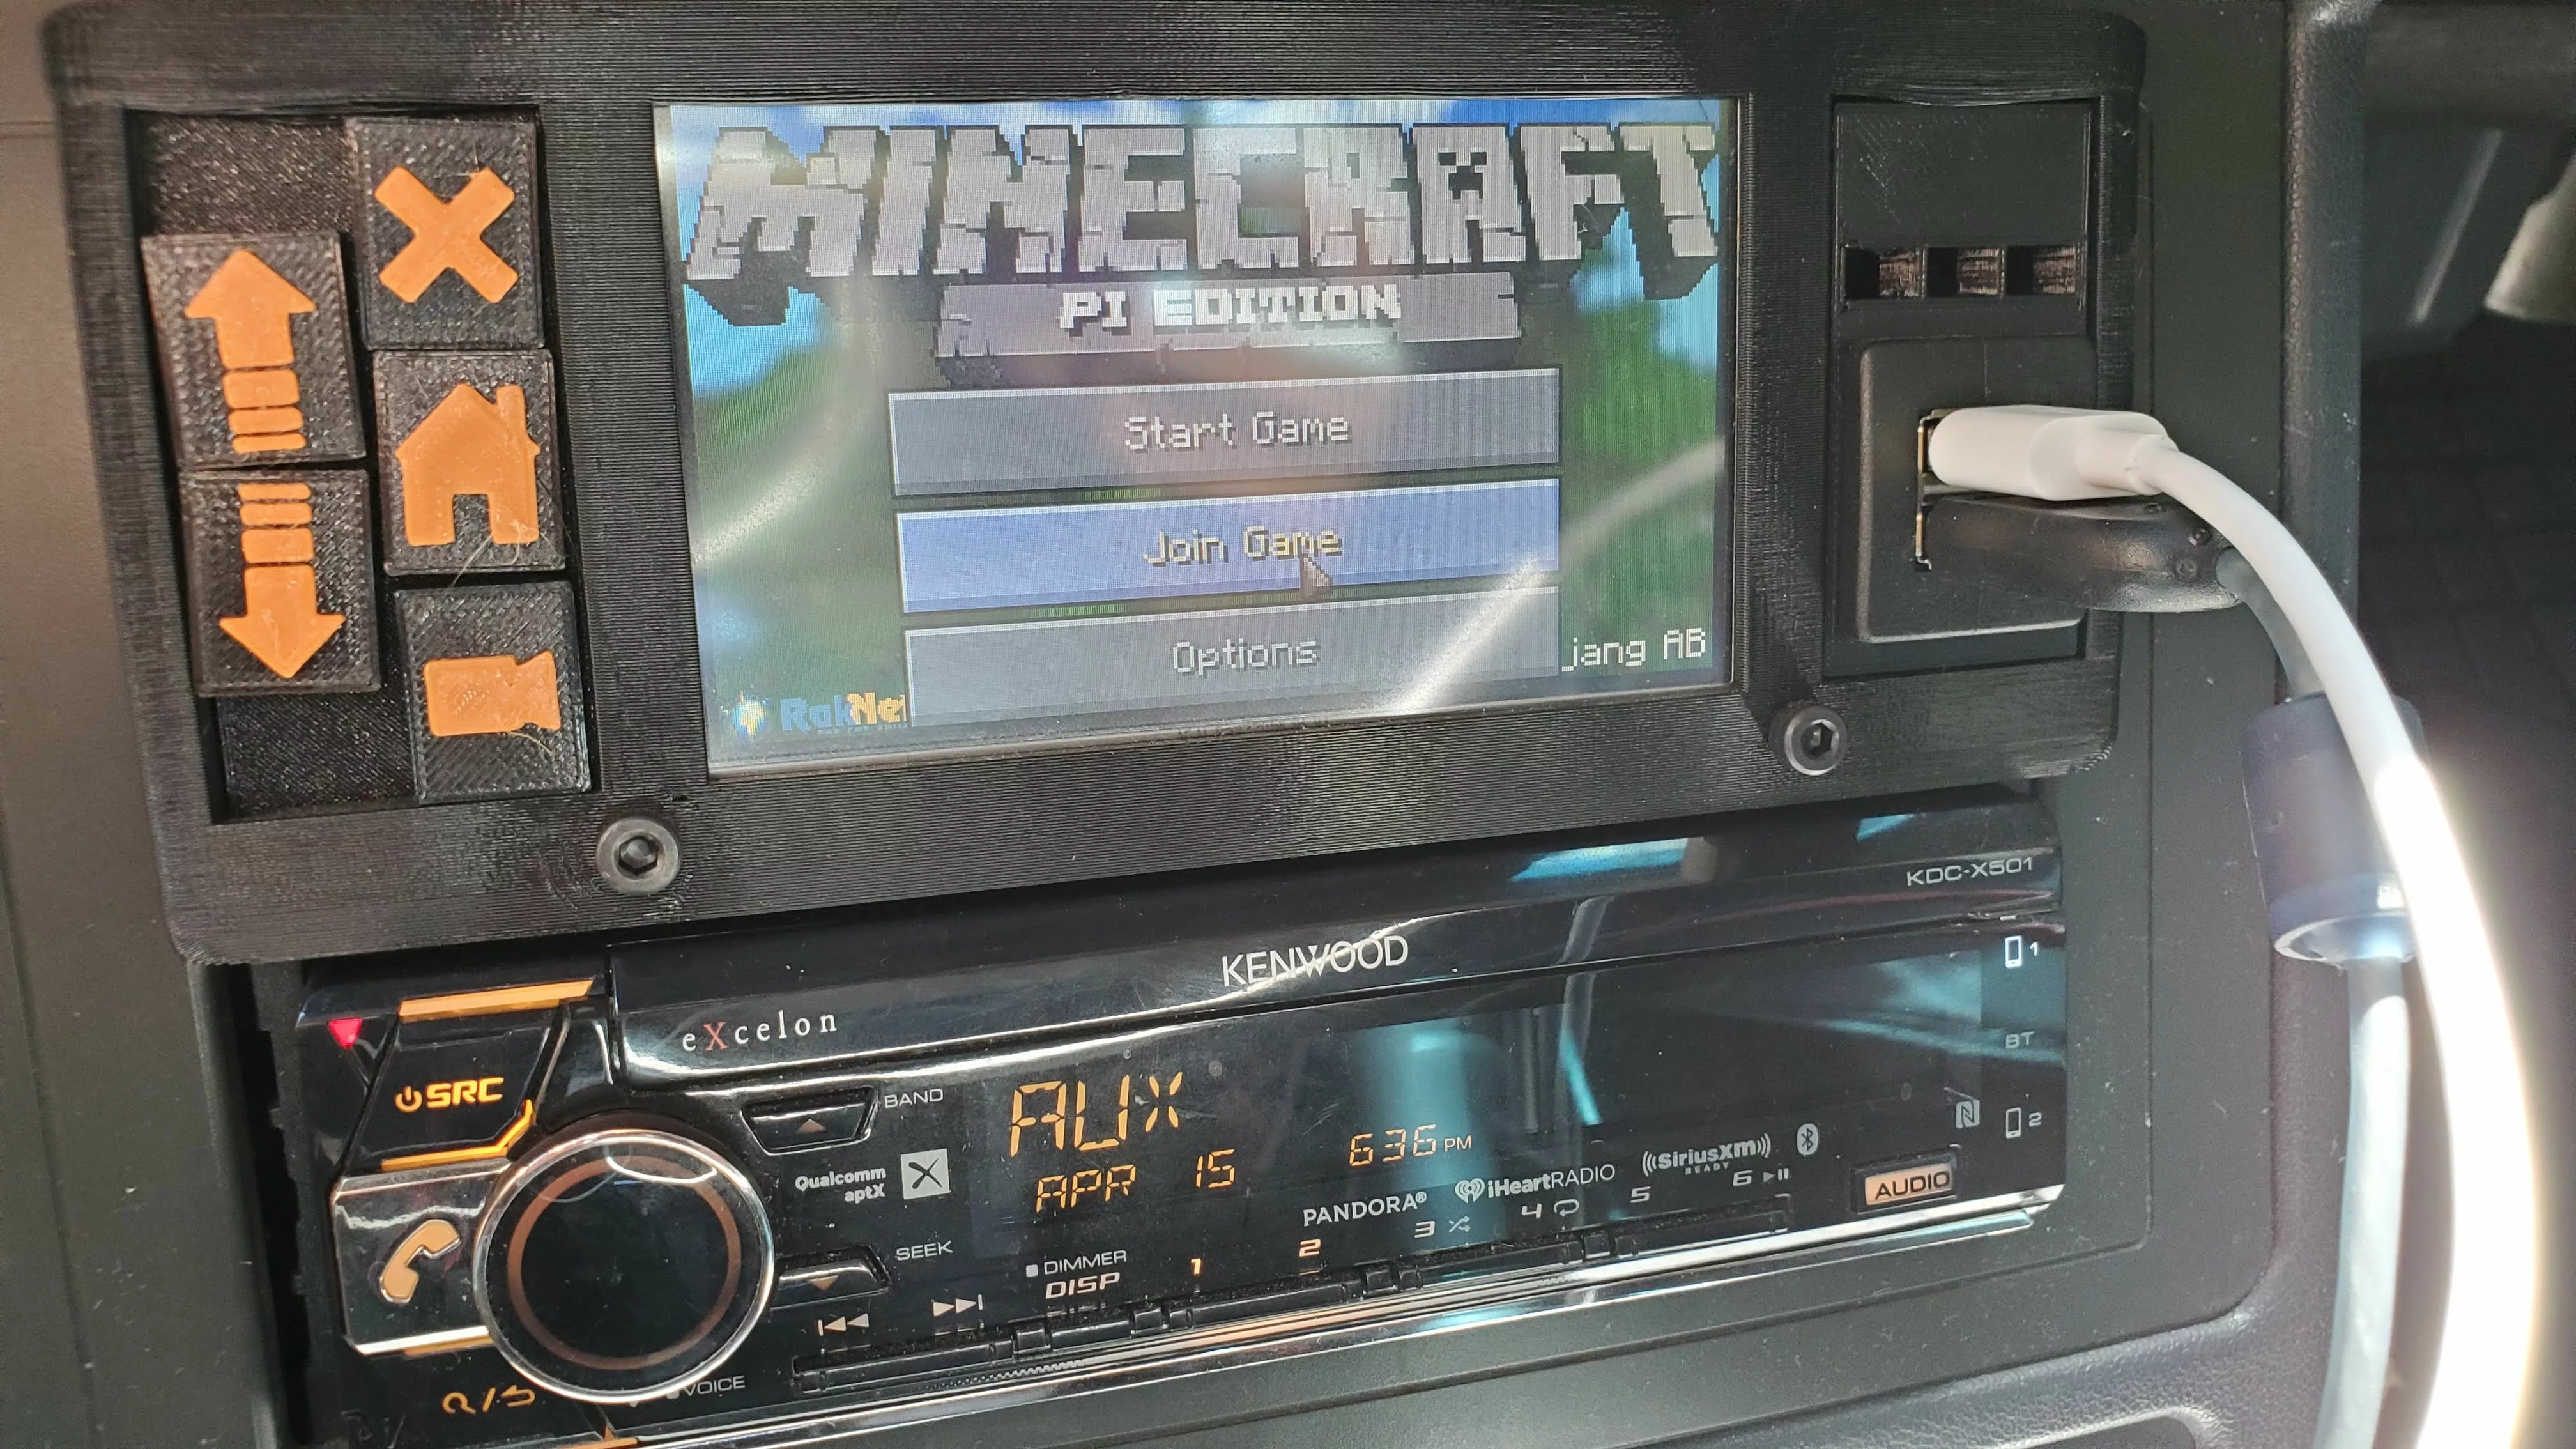
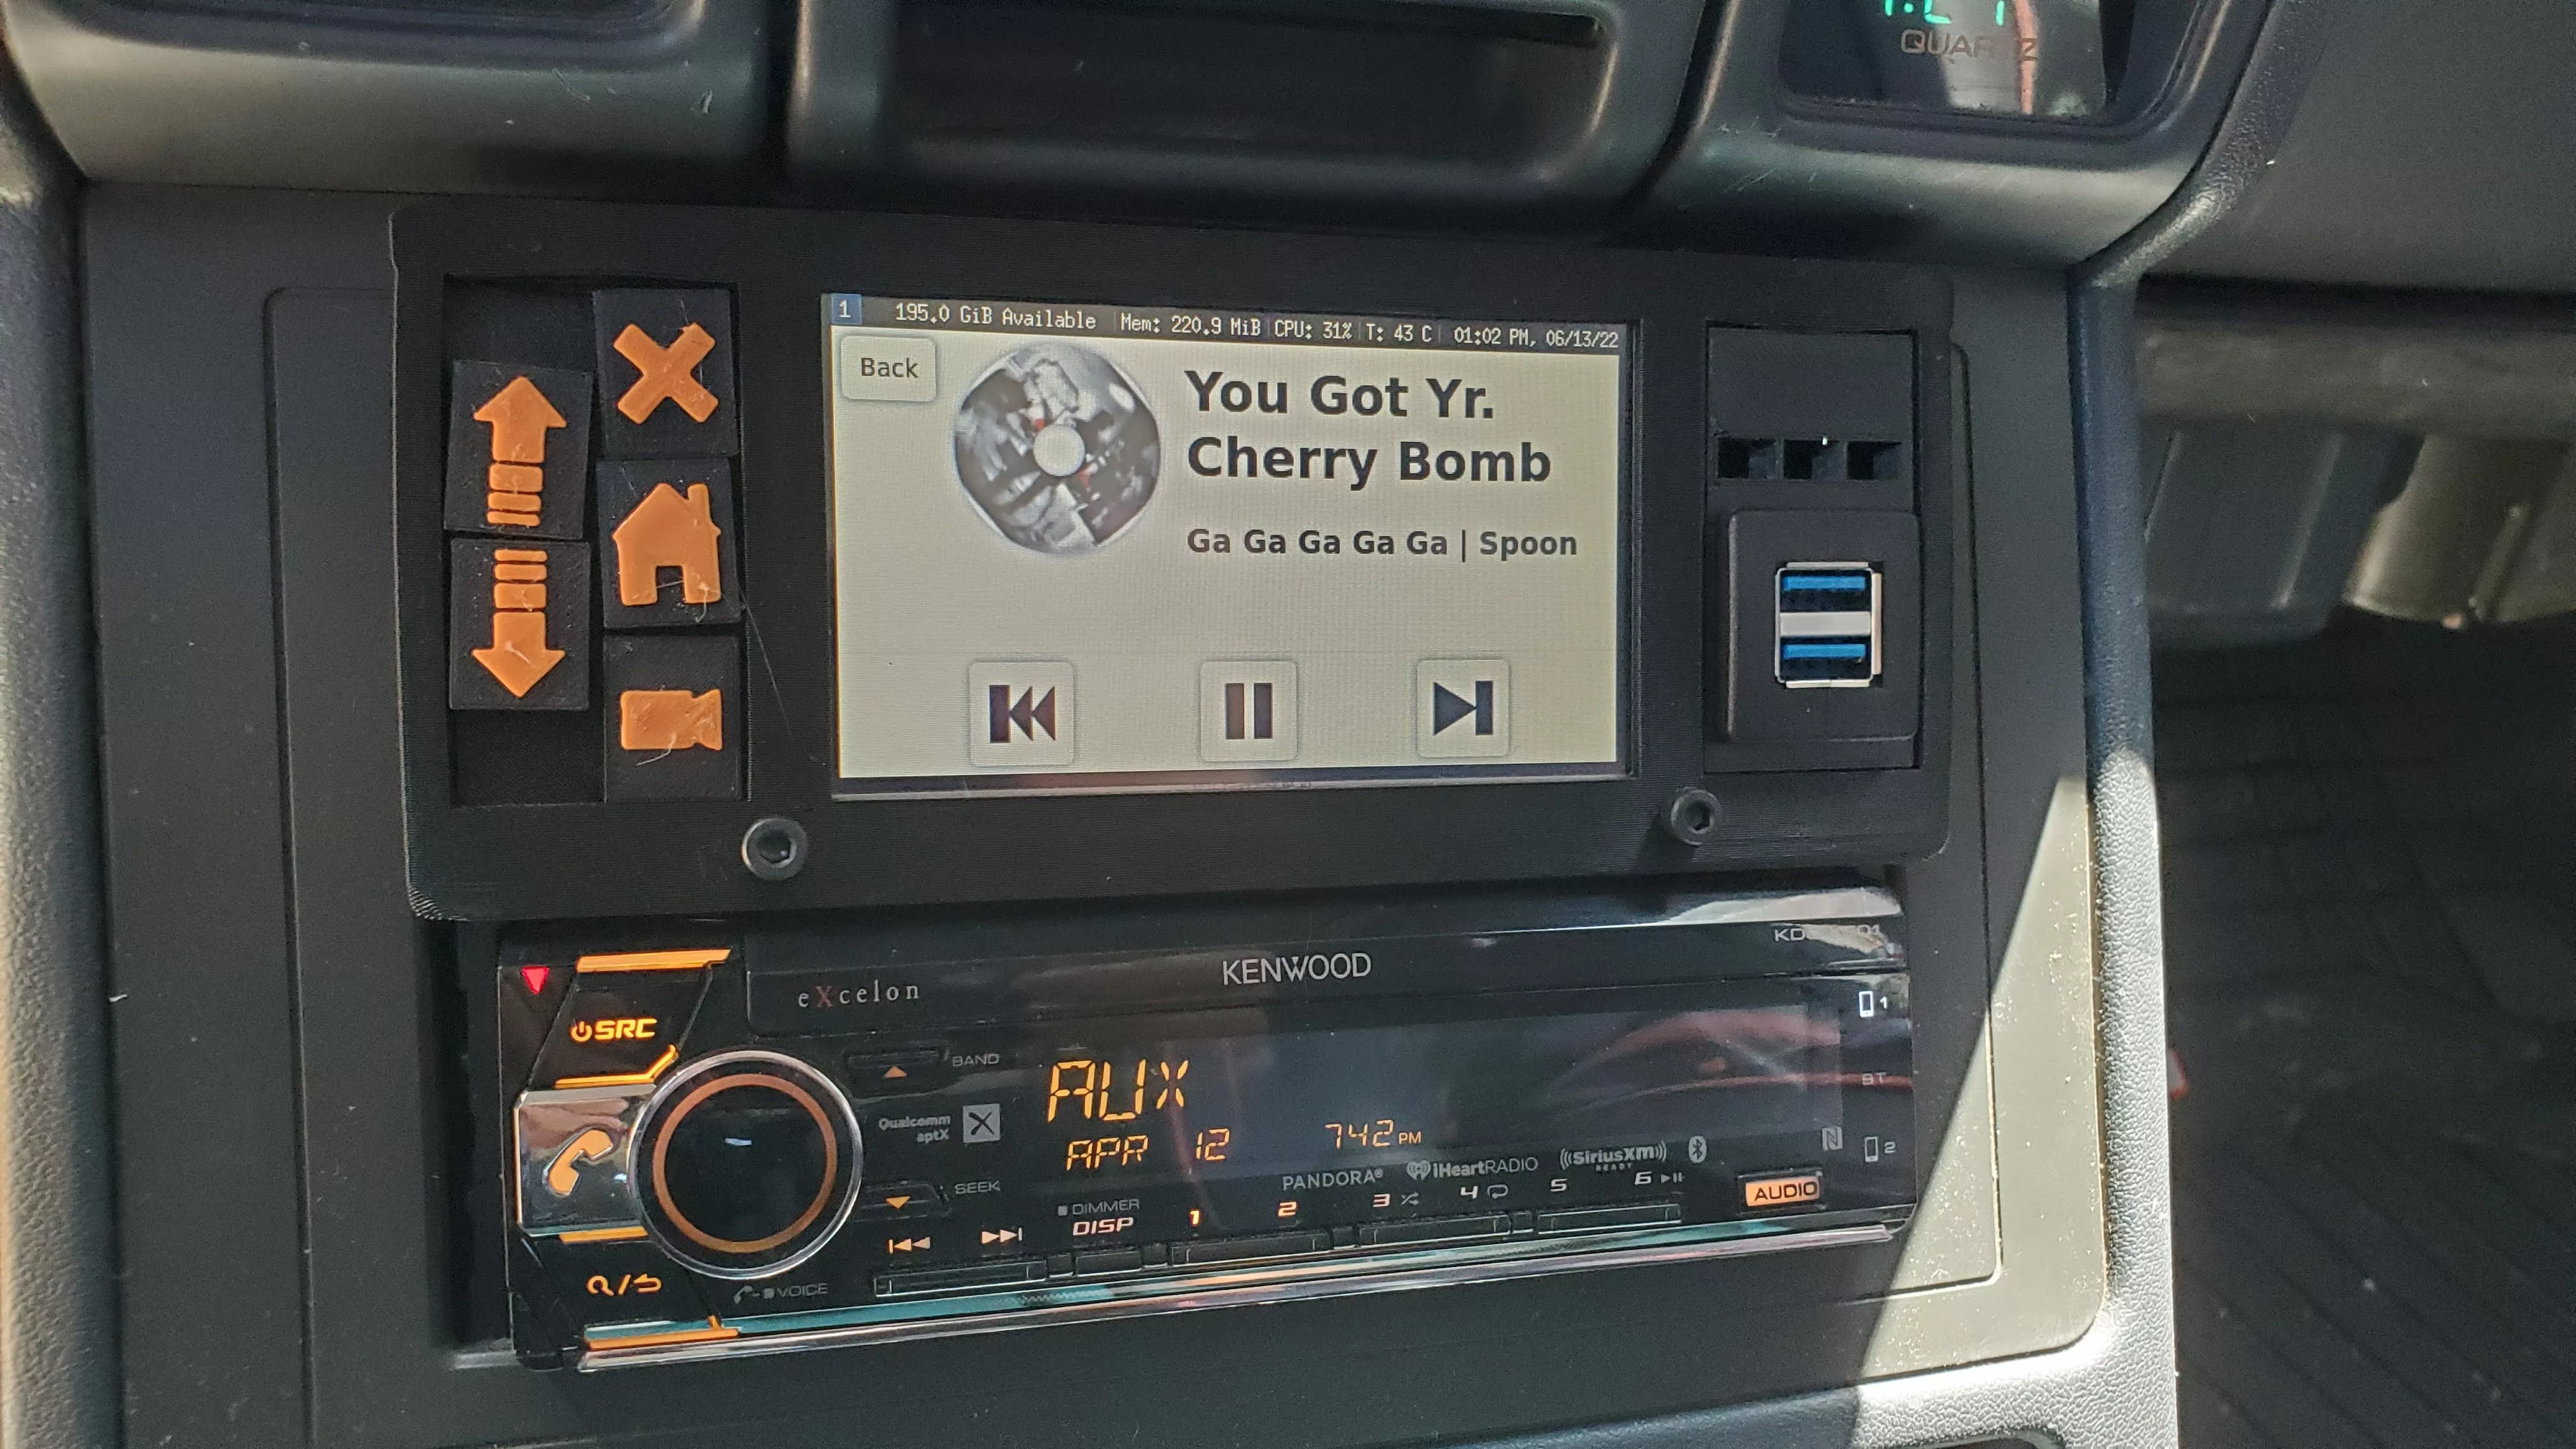
My main objective for this project was not to spend a ton of money, so that dictated a lot of my component choices. At the center of the car computer is a Raspberry Pi 2 I got for free a while back. While a newer model Raspberry Pi comes with many benefits in the form of onboard connectivity and speed, they also have much higher power and thermal requirements compared to the Pi 2. The screen is out of an old HP printer and is coupled with a TFT driver board from Adafruit to allow it to work with the Pi. The whole thing is powered by a 12v to 5v converter I took from an obsolete phone charger. I managed to end up only spending money on an ultra-short HDMI cable and some USB extenders for the front IO and the webcam.Choosing the System Software
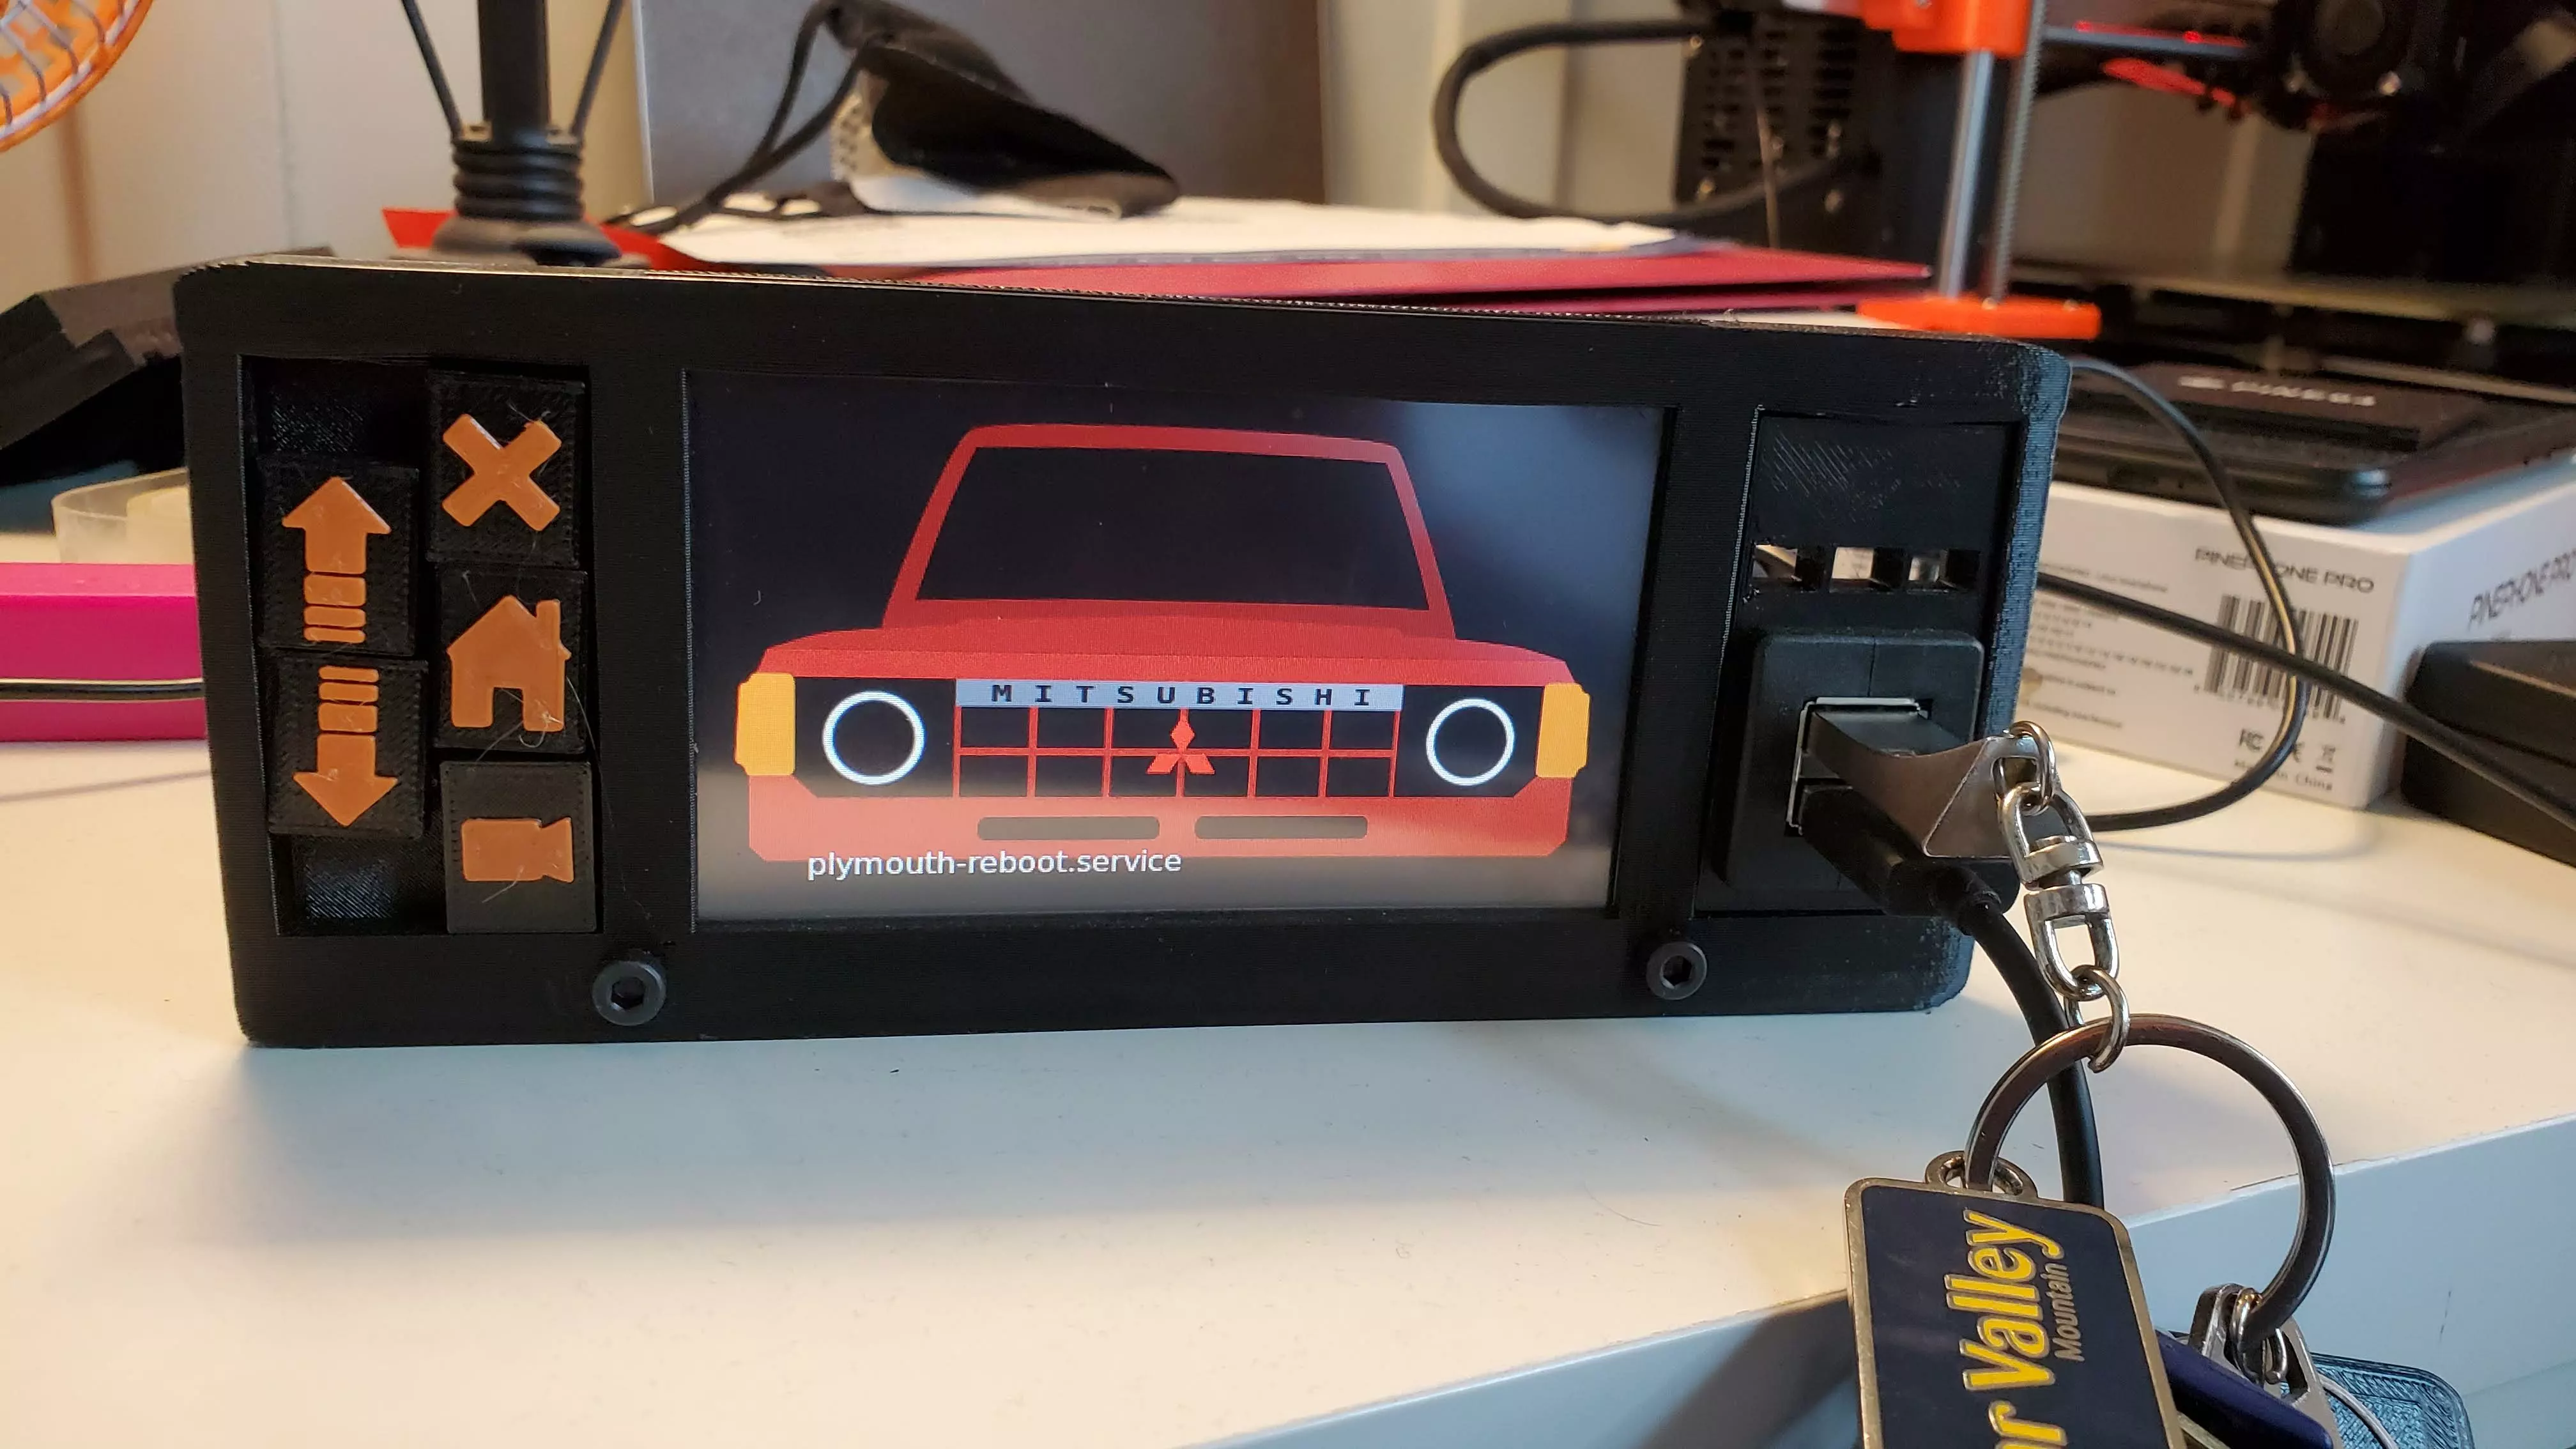
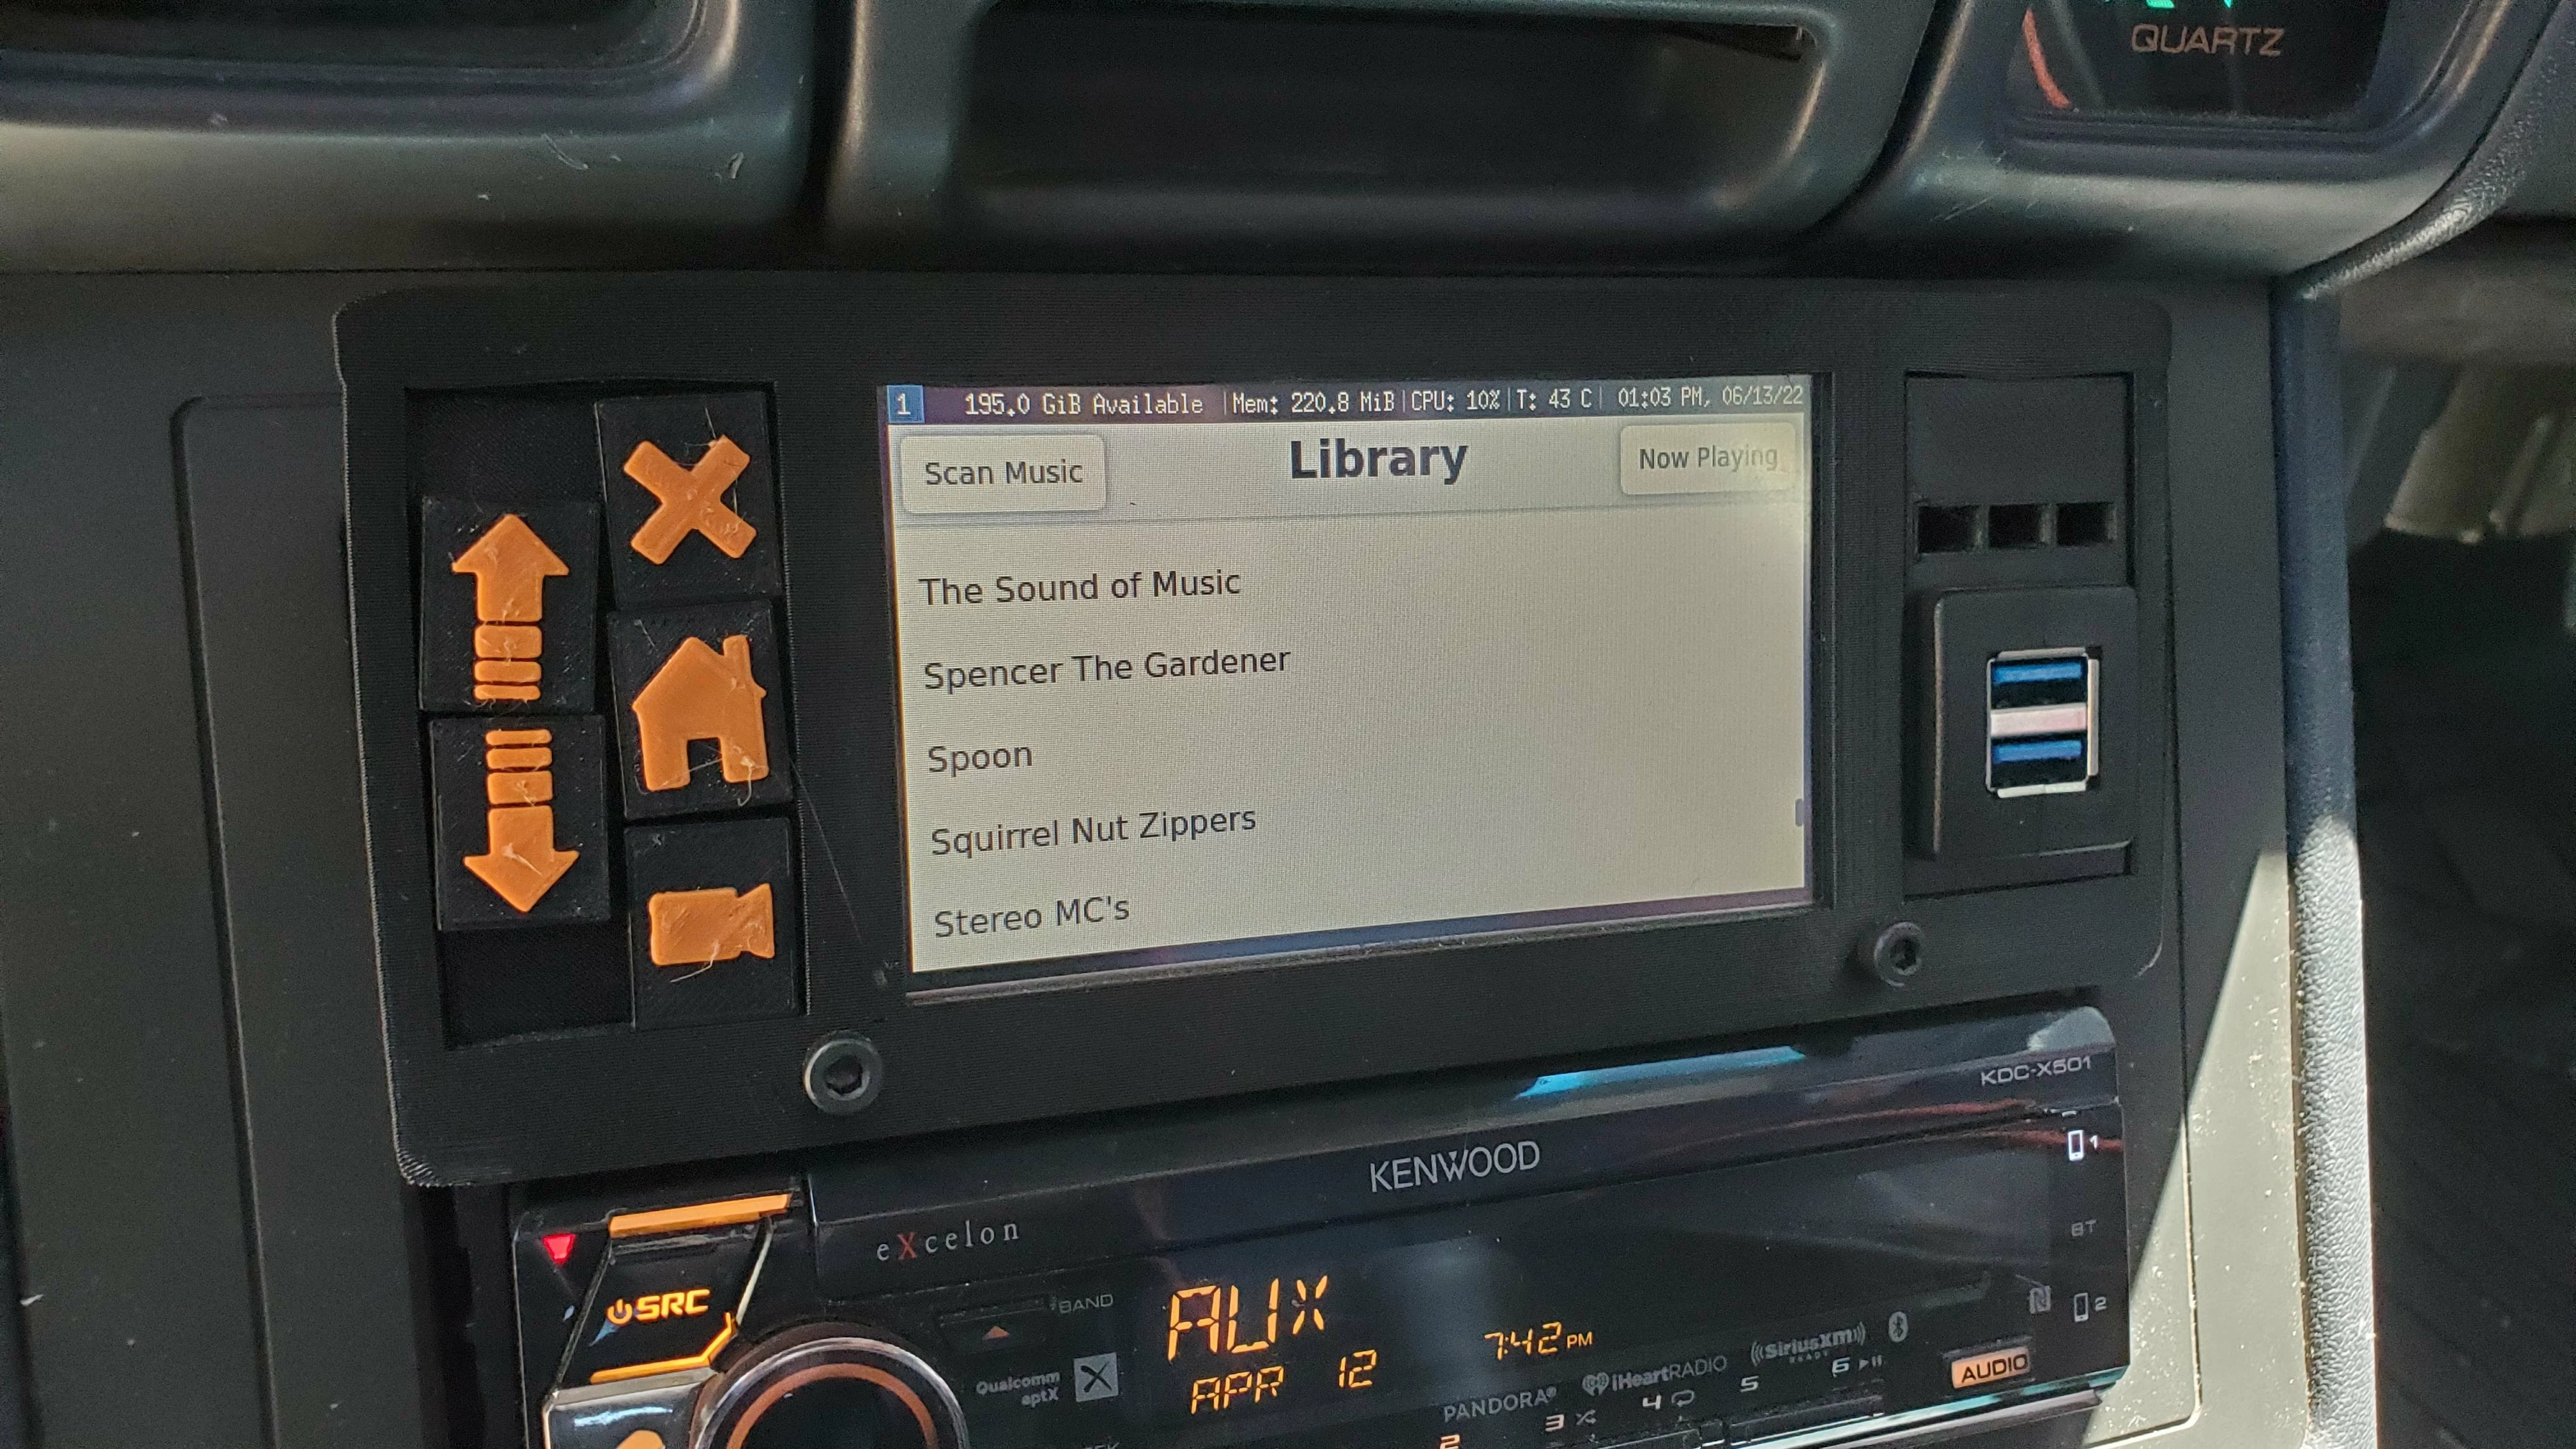
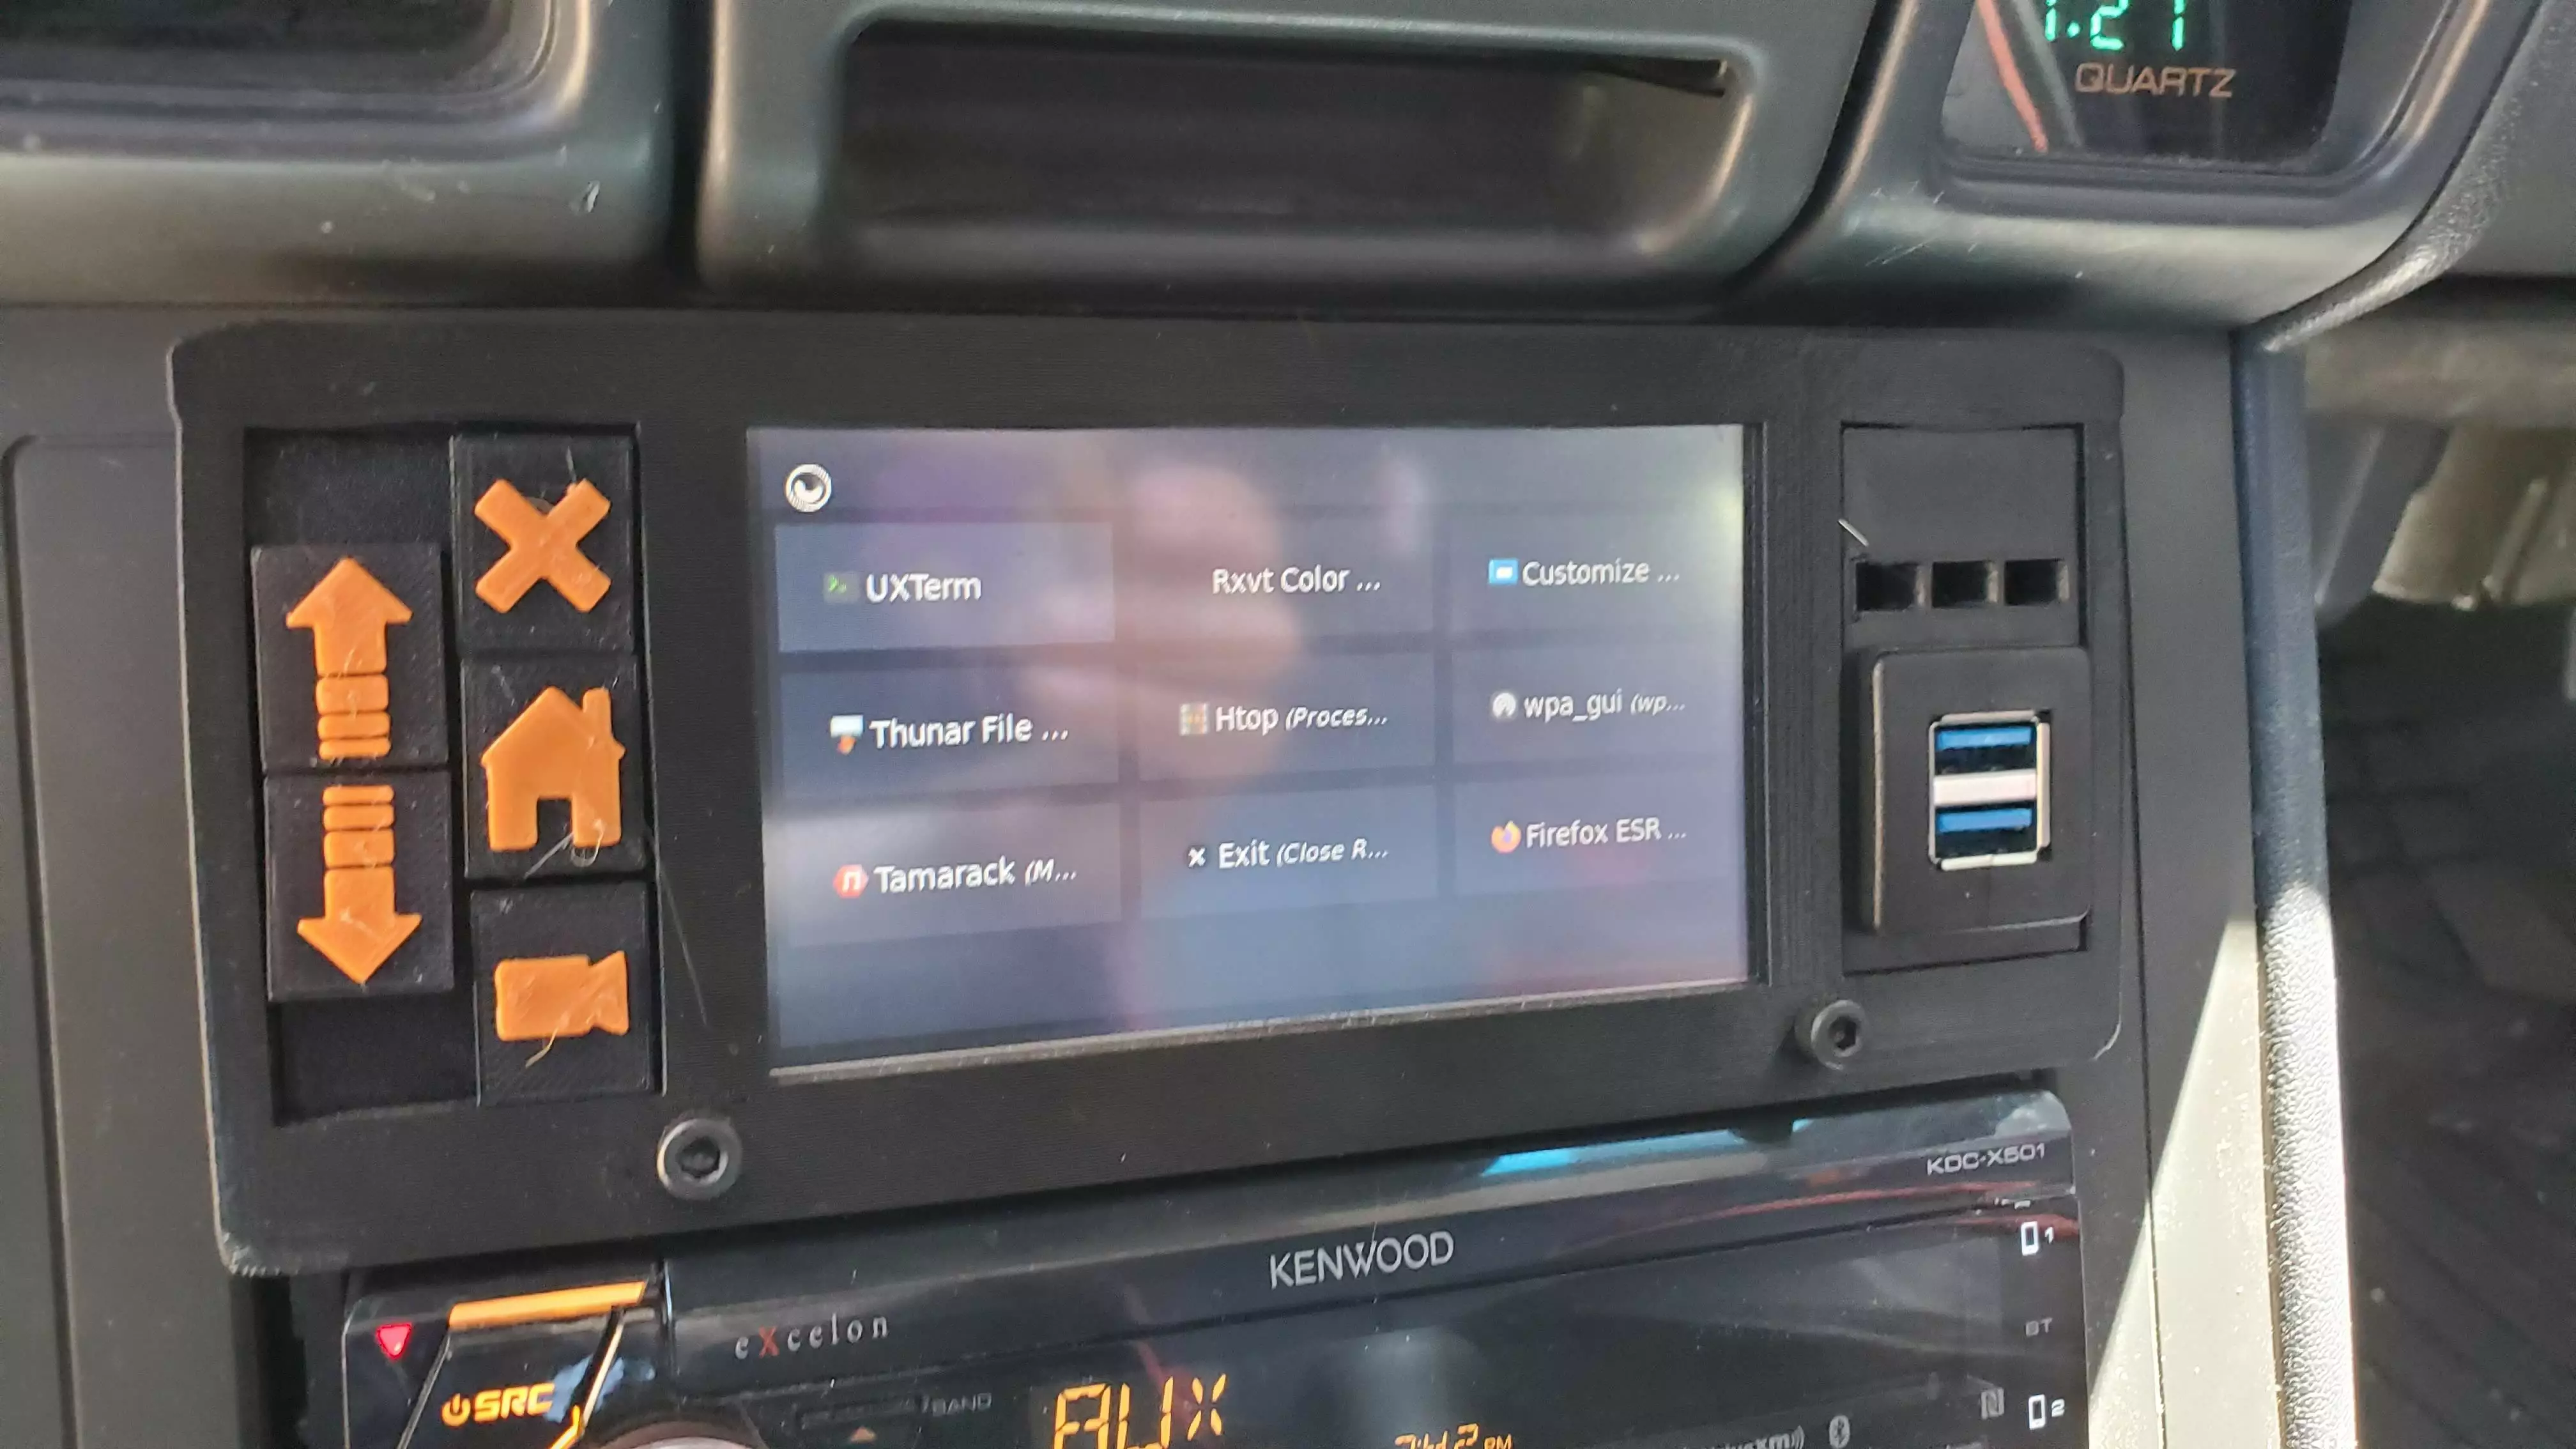
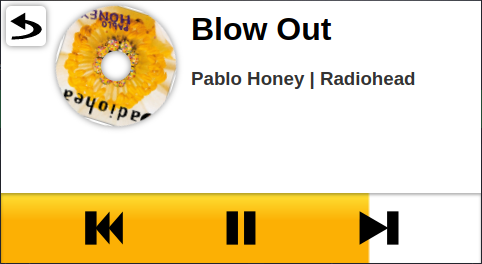
My original plan was to use something like Plasma Mobile running on Manjaro Arm as my OS, but unfortunately my OS choices were quite limited because of my older Pi. I first tried to use Ubuntu Core with i3wm, but ultimately I couldn't get the graphics drivers to work so I ended up with Raspbian Lite and i3wm. As for why I went with i3, it's simply the tiling window manager that I have the most experience with. The TFT driver board is meant for use with a wide variety of screens, so it defaults to a resolution of 800x480, however my screen is 480x272 which made doing anything on it quite difficult. Thankfully, due to the power of Linux, I was able to use xrandr to force the resolution to 480x272. Unfortunately, the TFT driver board simulates touch as a mouse input, meaning that there is no touch-based scrolling on any system app. I also tried several well-known music players, including Lollypop, Elisa, and Rhythmbox, however none of them scaled particularly well to such a low-resolution screen. Therefore, I decided to code my own custom music player, but before I did that I needed to turn the rat's nest of components sitting on my desk into an intact computer.Building the Car Computer
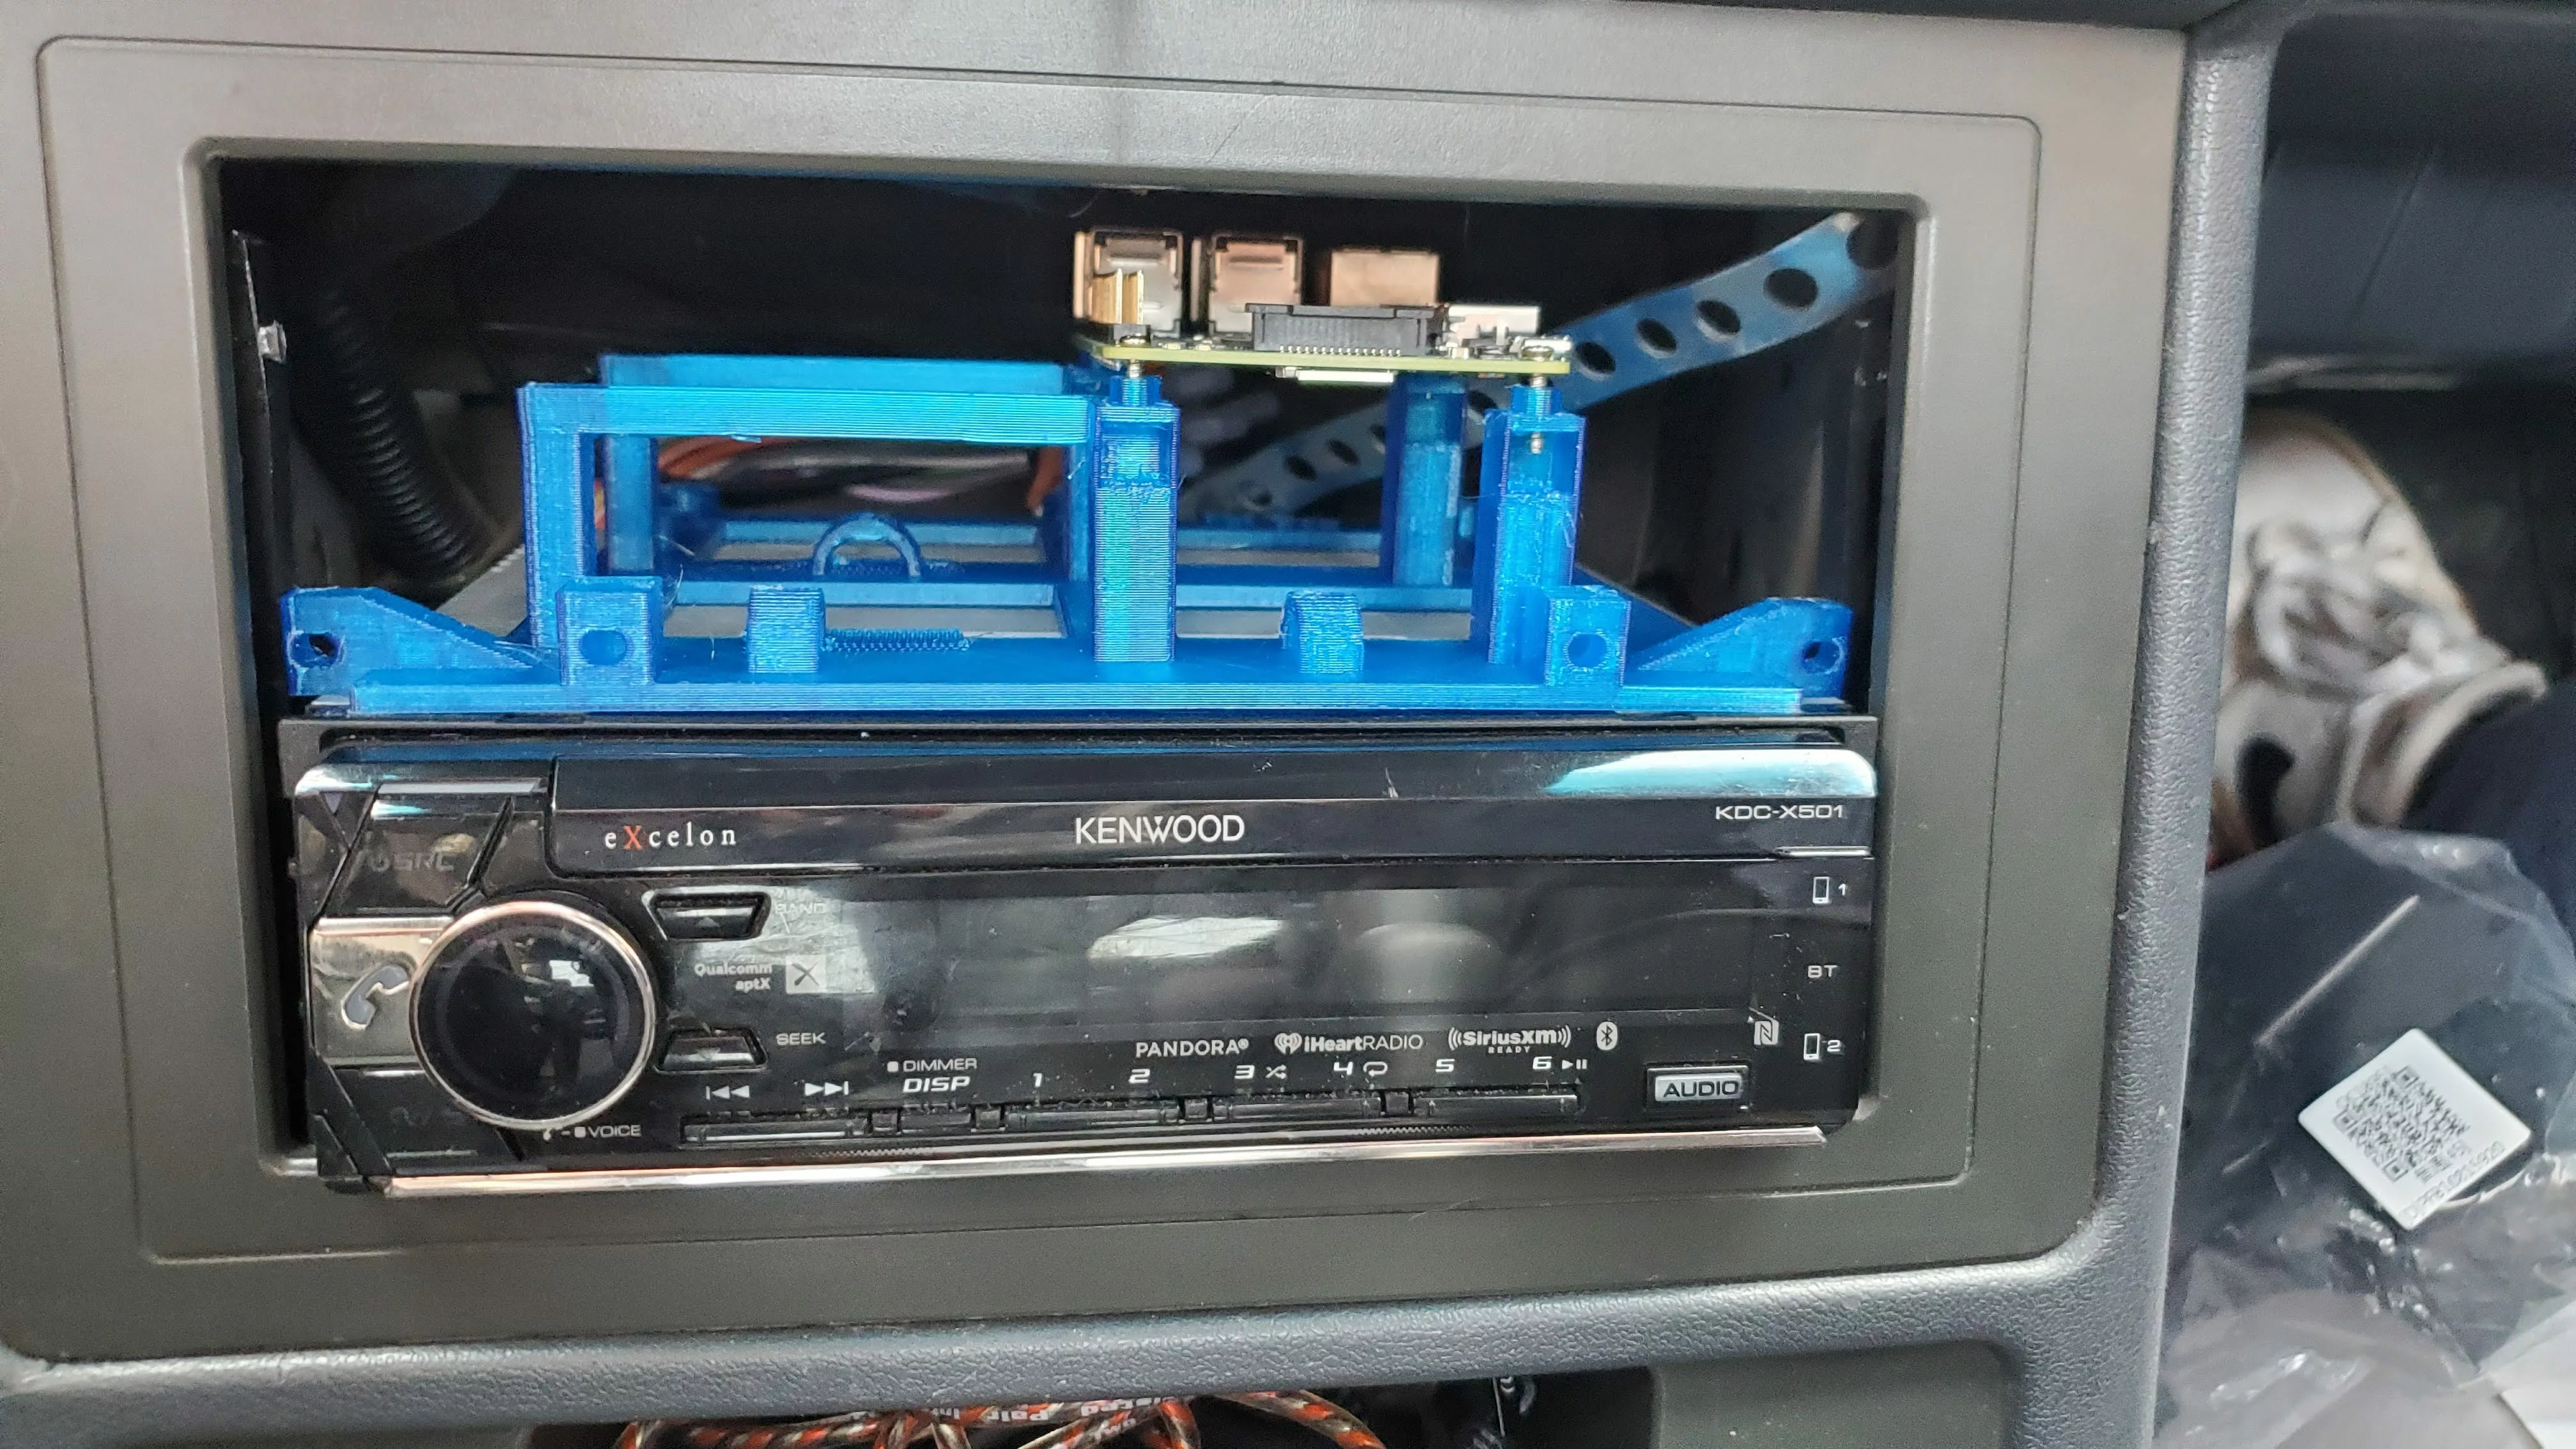
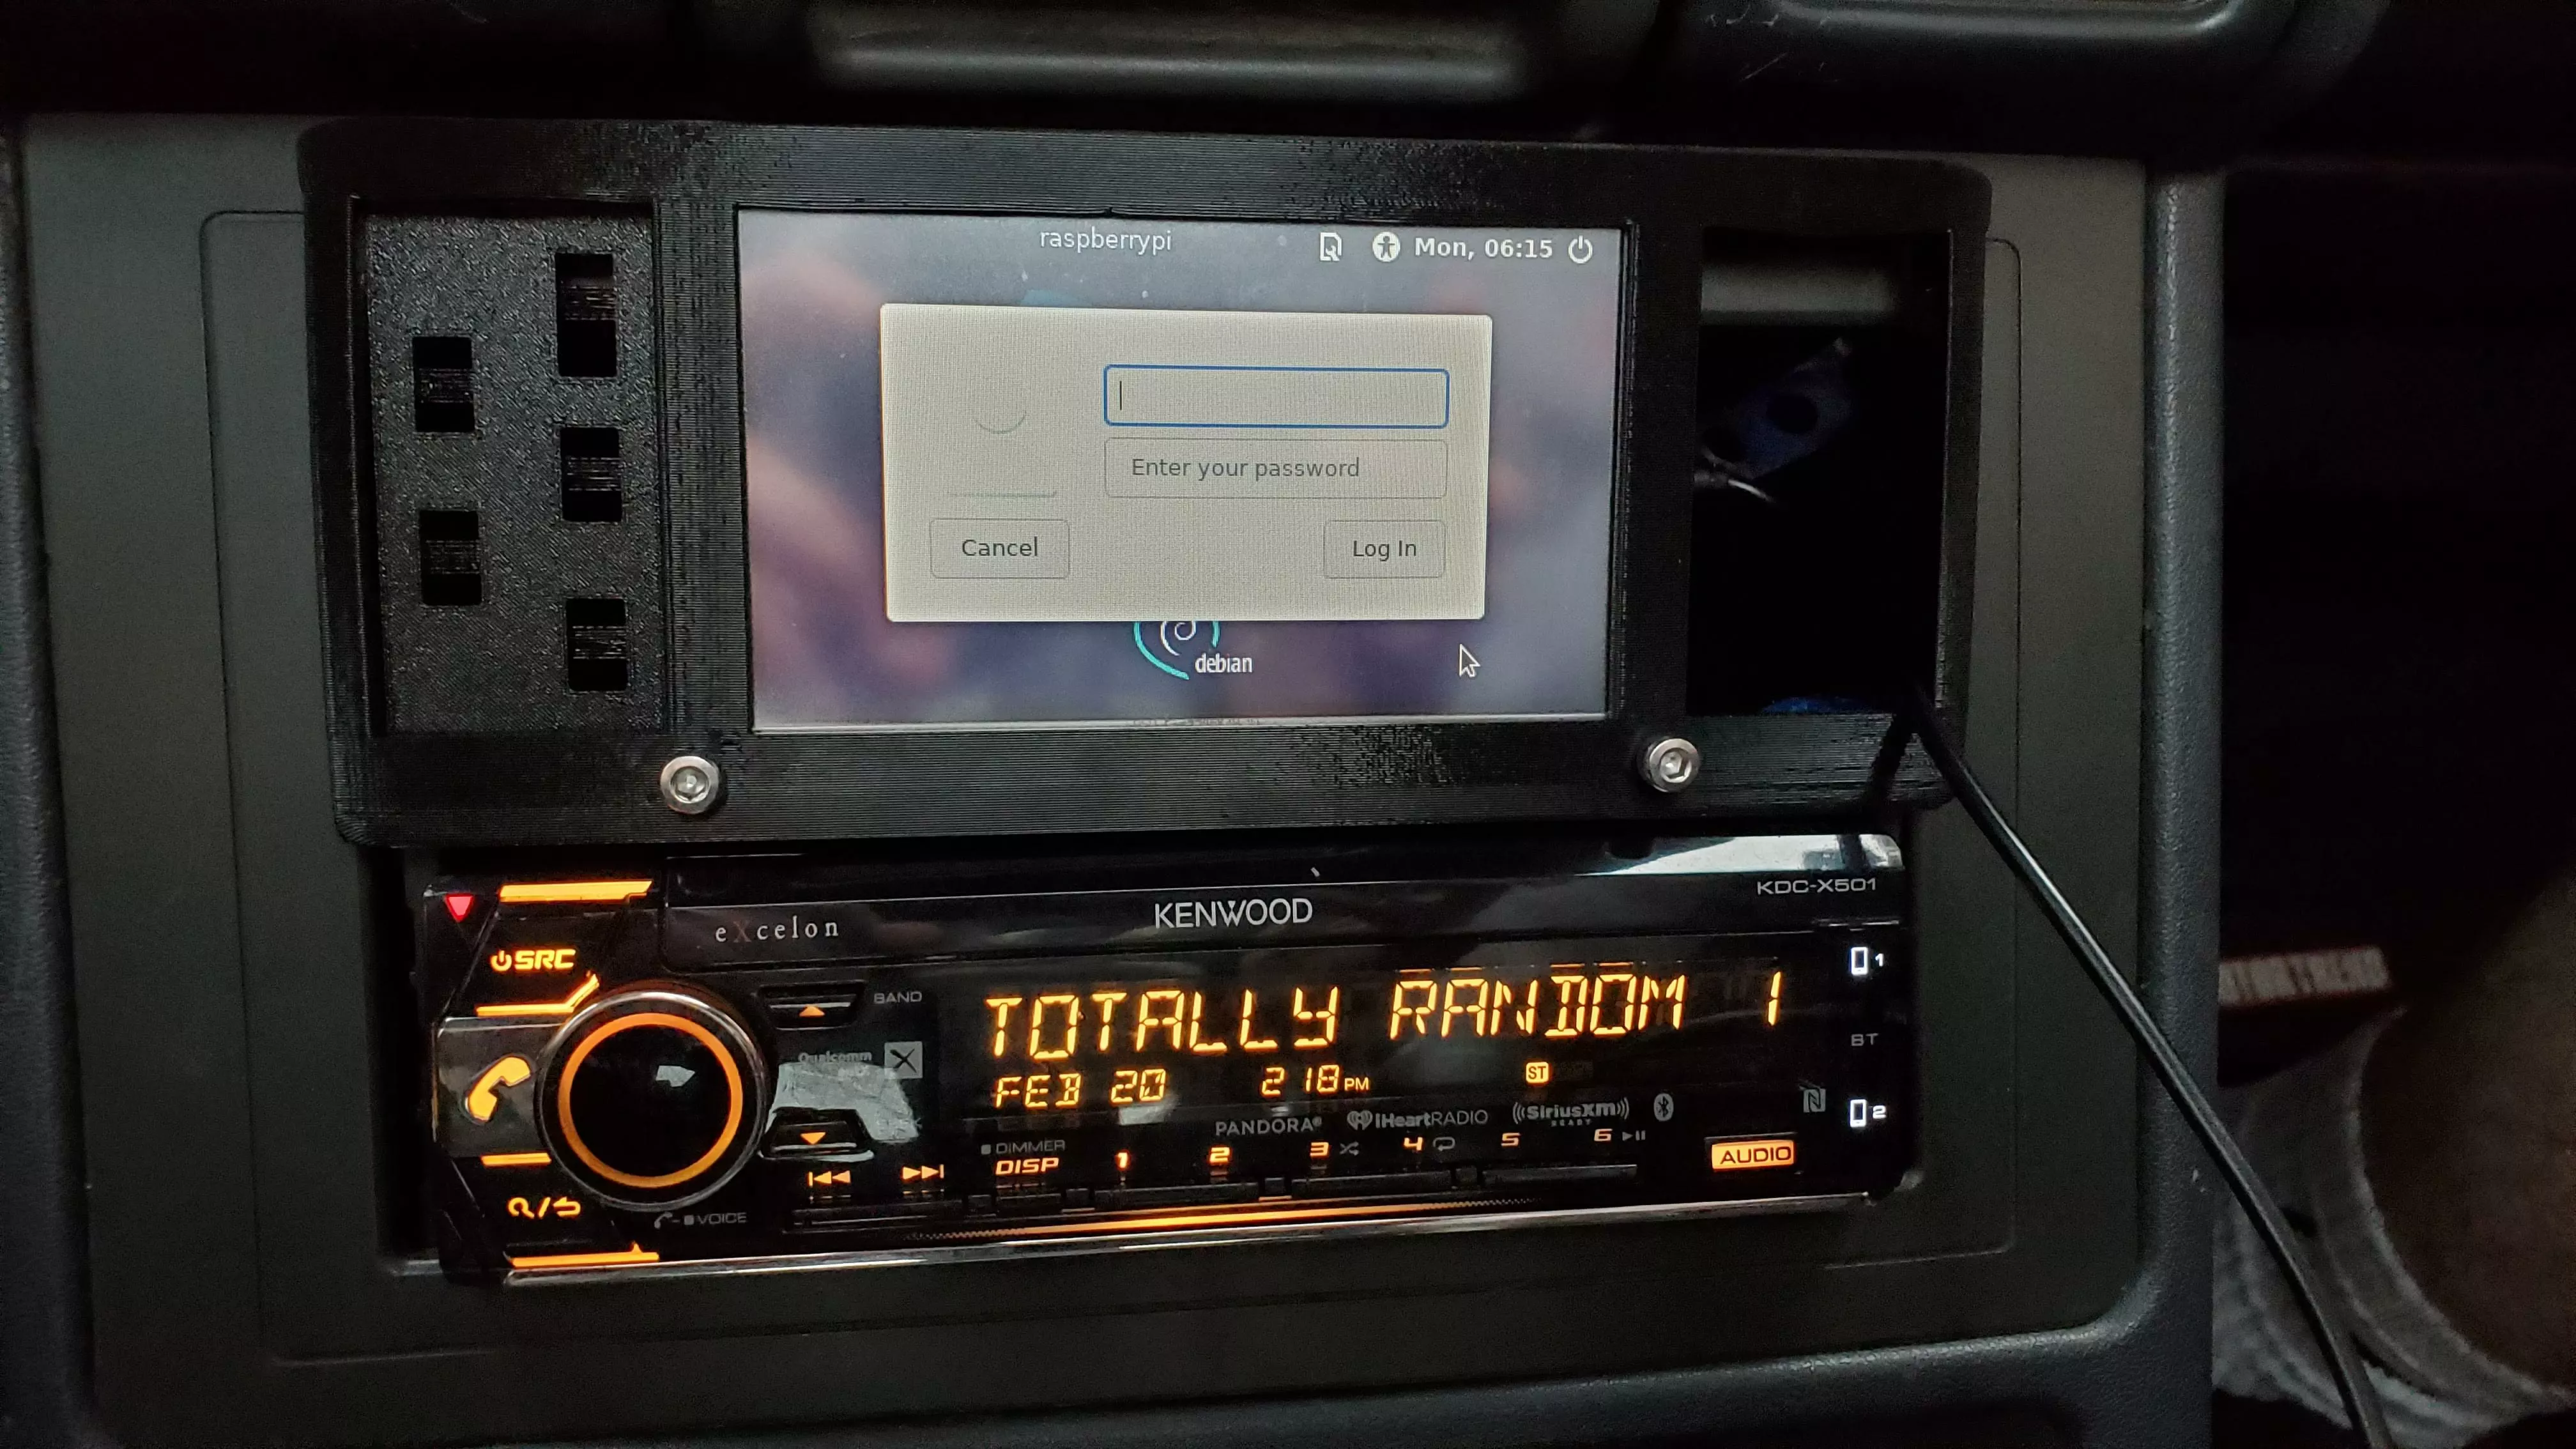
The process of CADing and assembling the car computer actually went fairly straightforward. I had to raise up the raspberry pi nearly as high as it could go in order for it to clear the radio's support strap, and the display driver board had to be mounted upside down due to the orientation of the display's ribbon cable. I also had to make an adjustable mount for it because the ribbon cable's side-to-side rigidity necessitated that it be in the perfect position. I added some mounting holes along the back to allow for any additional hardware that I would need later, and I ended up using some of them to hold the power supply. The front panel is attached to the main structure with two bolts, allowing access to the internal components once the computer is installed. The screen simply slides down into the panel, an I found that friction and gravity are enough to keep it in place without any rattling. The accessory panels on either side of the screen are also modular, allowing me to build the computer before finalizing the design of the button panel.Writing my Custom Software
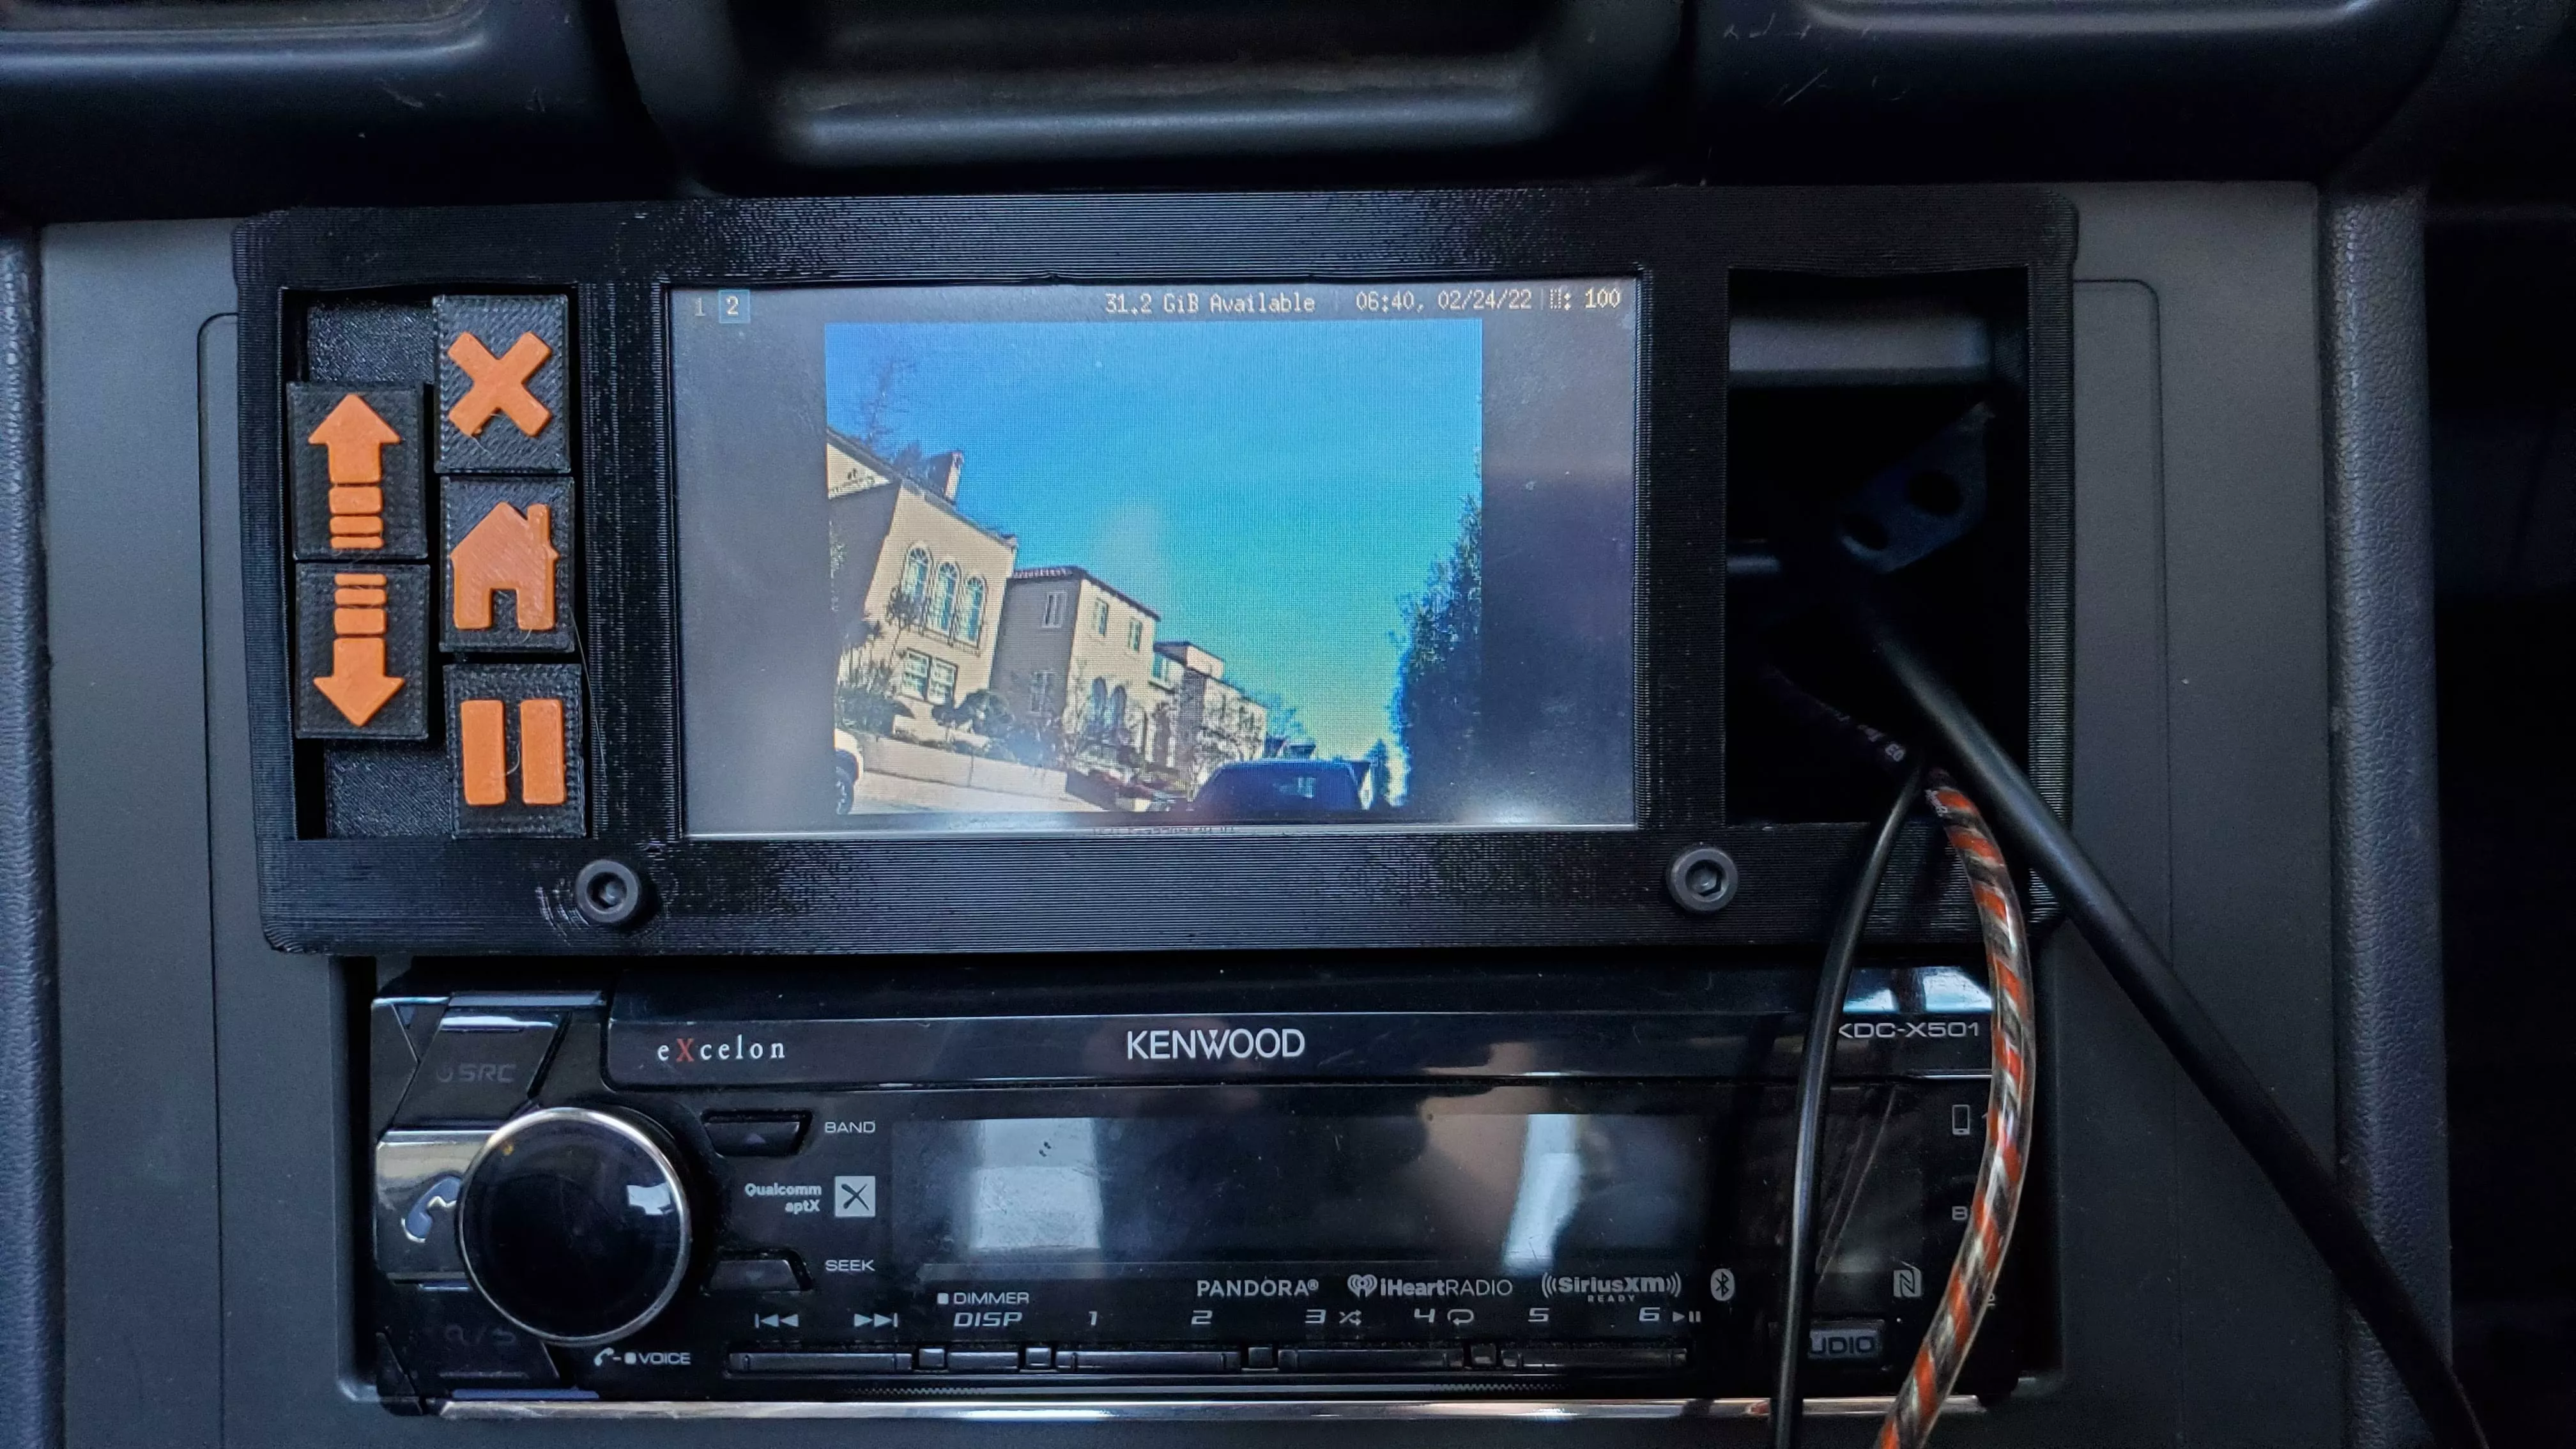
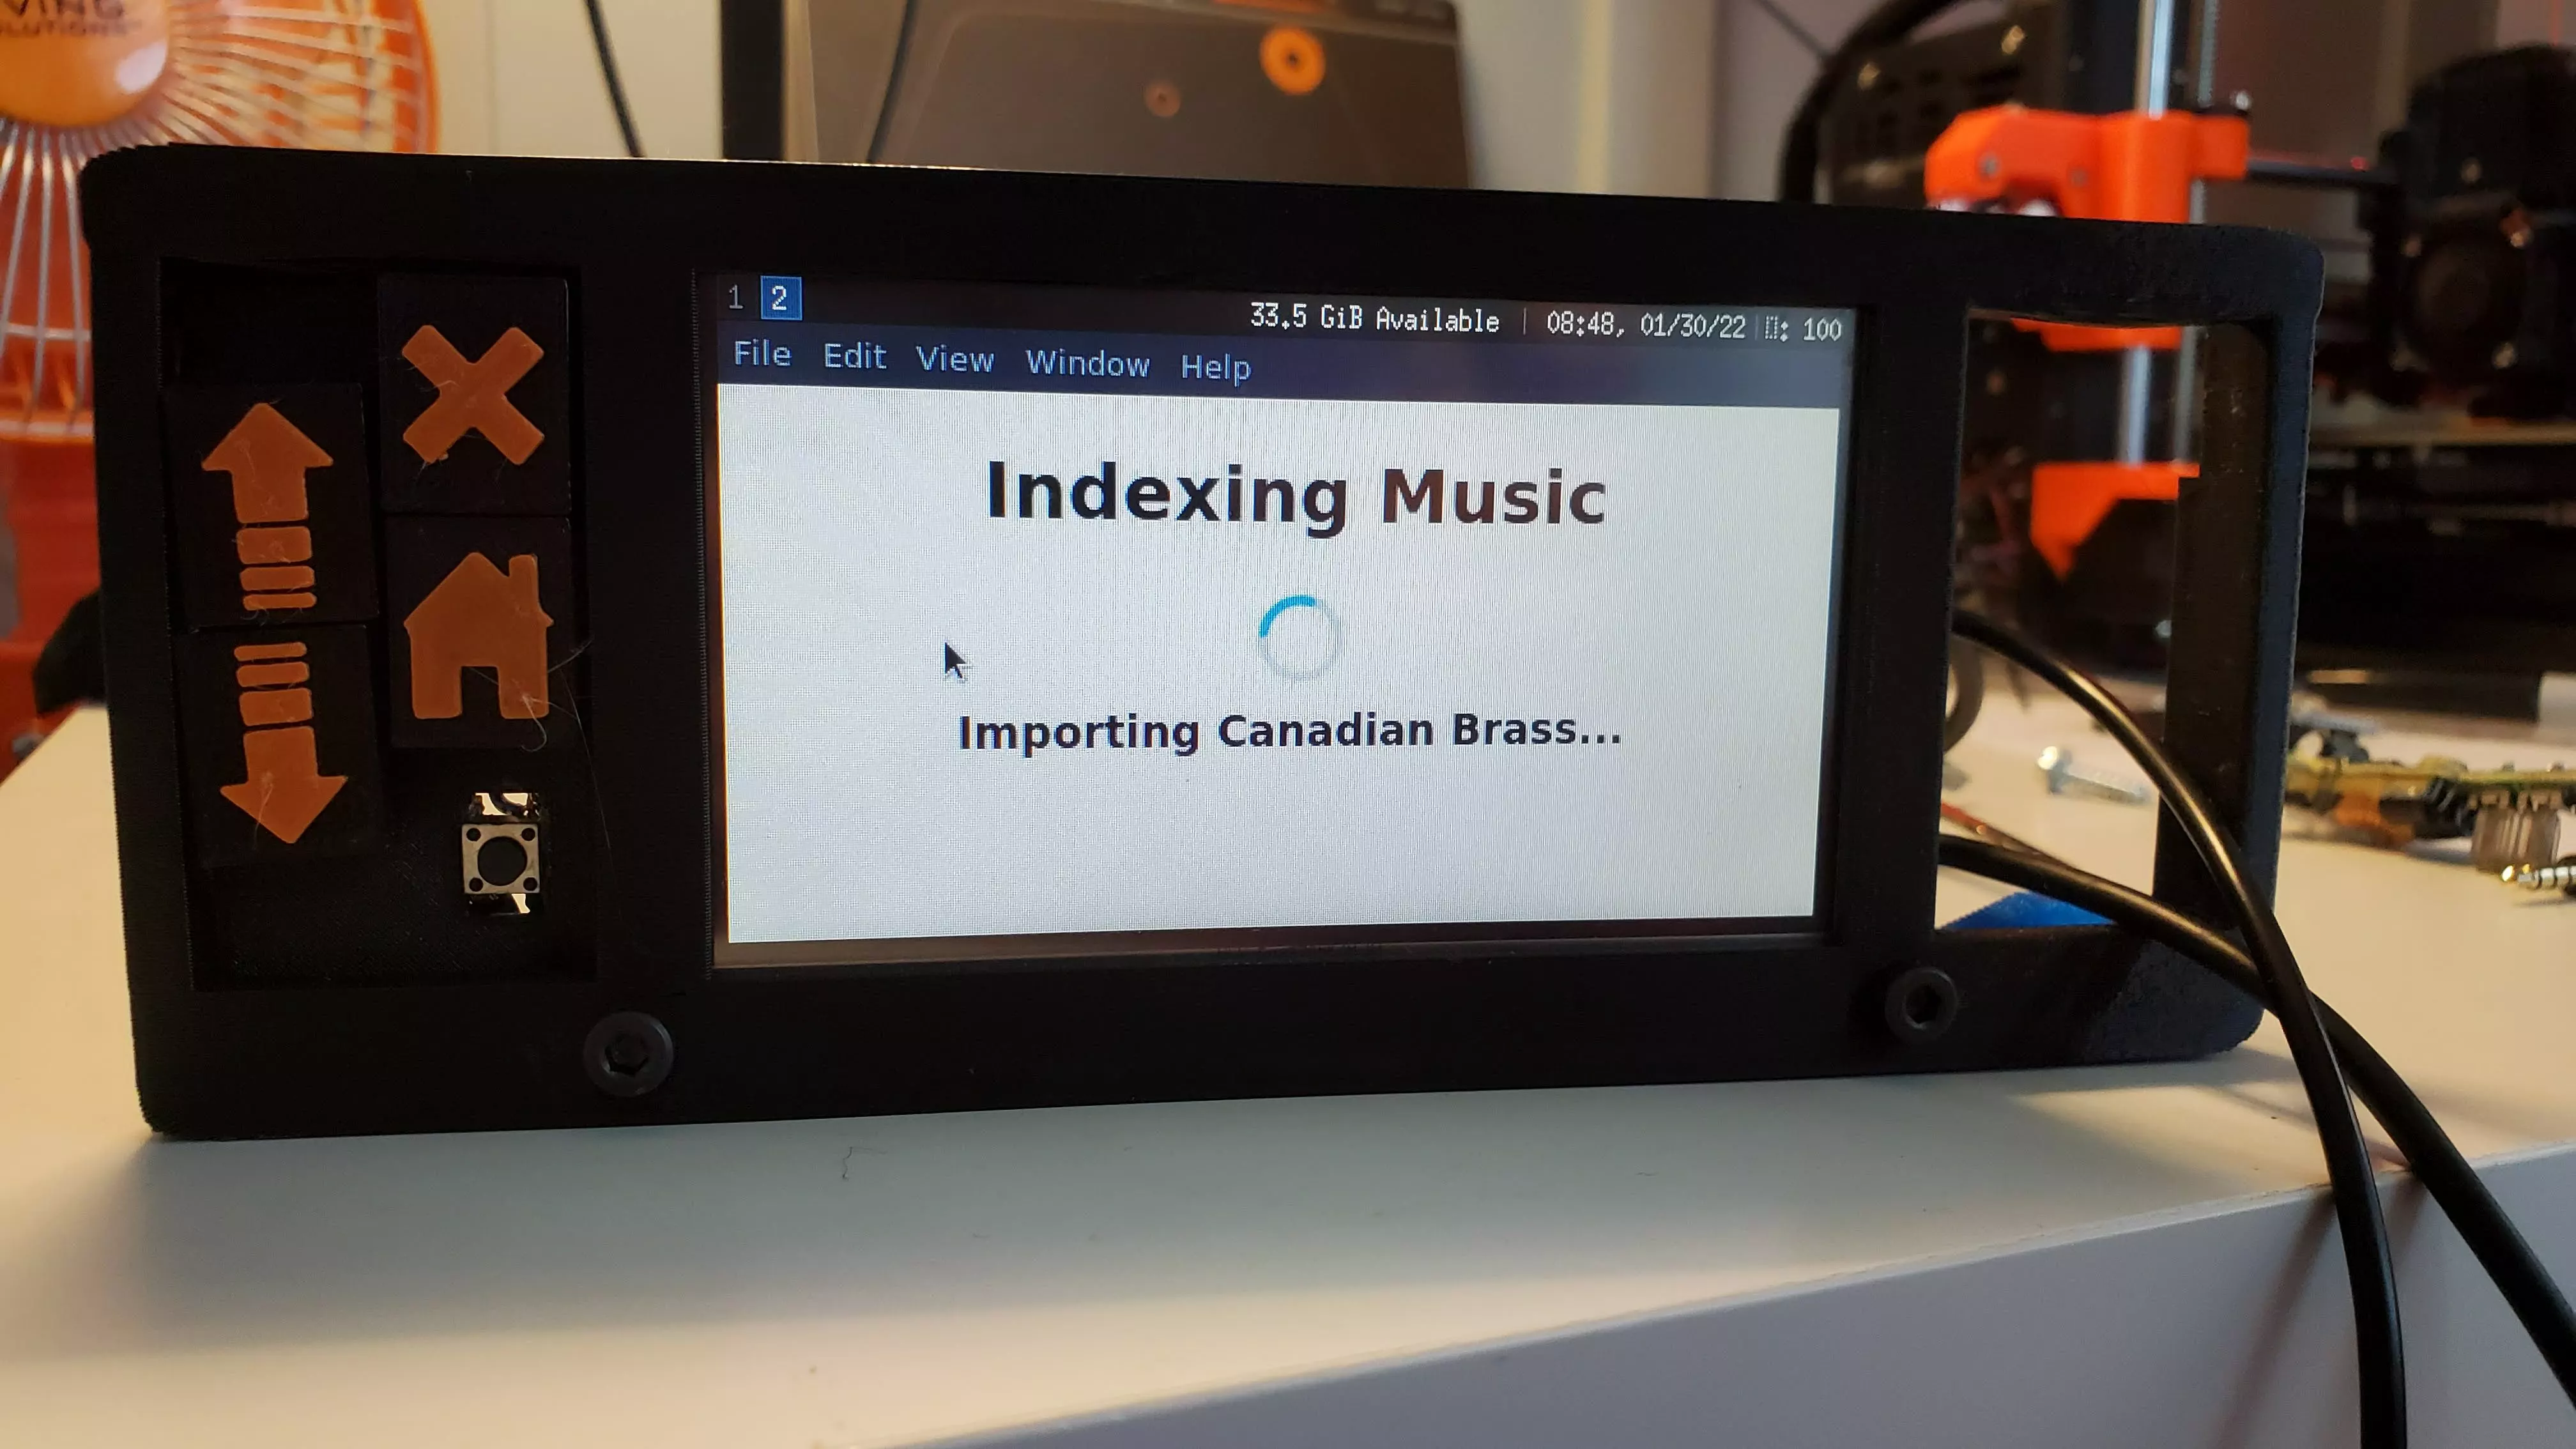
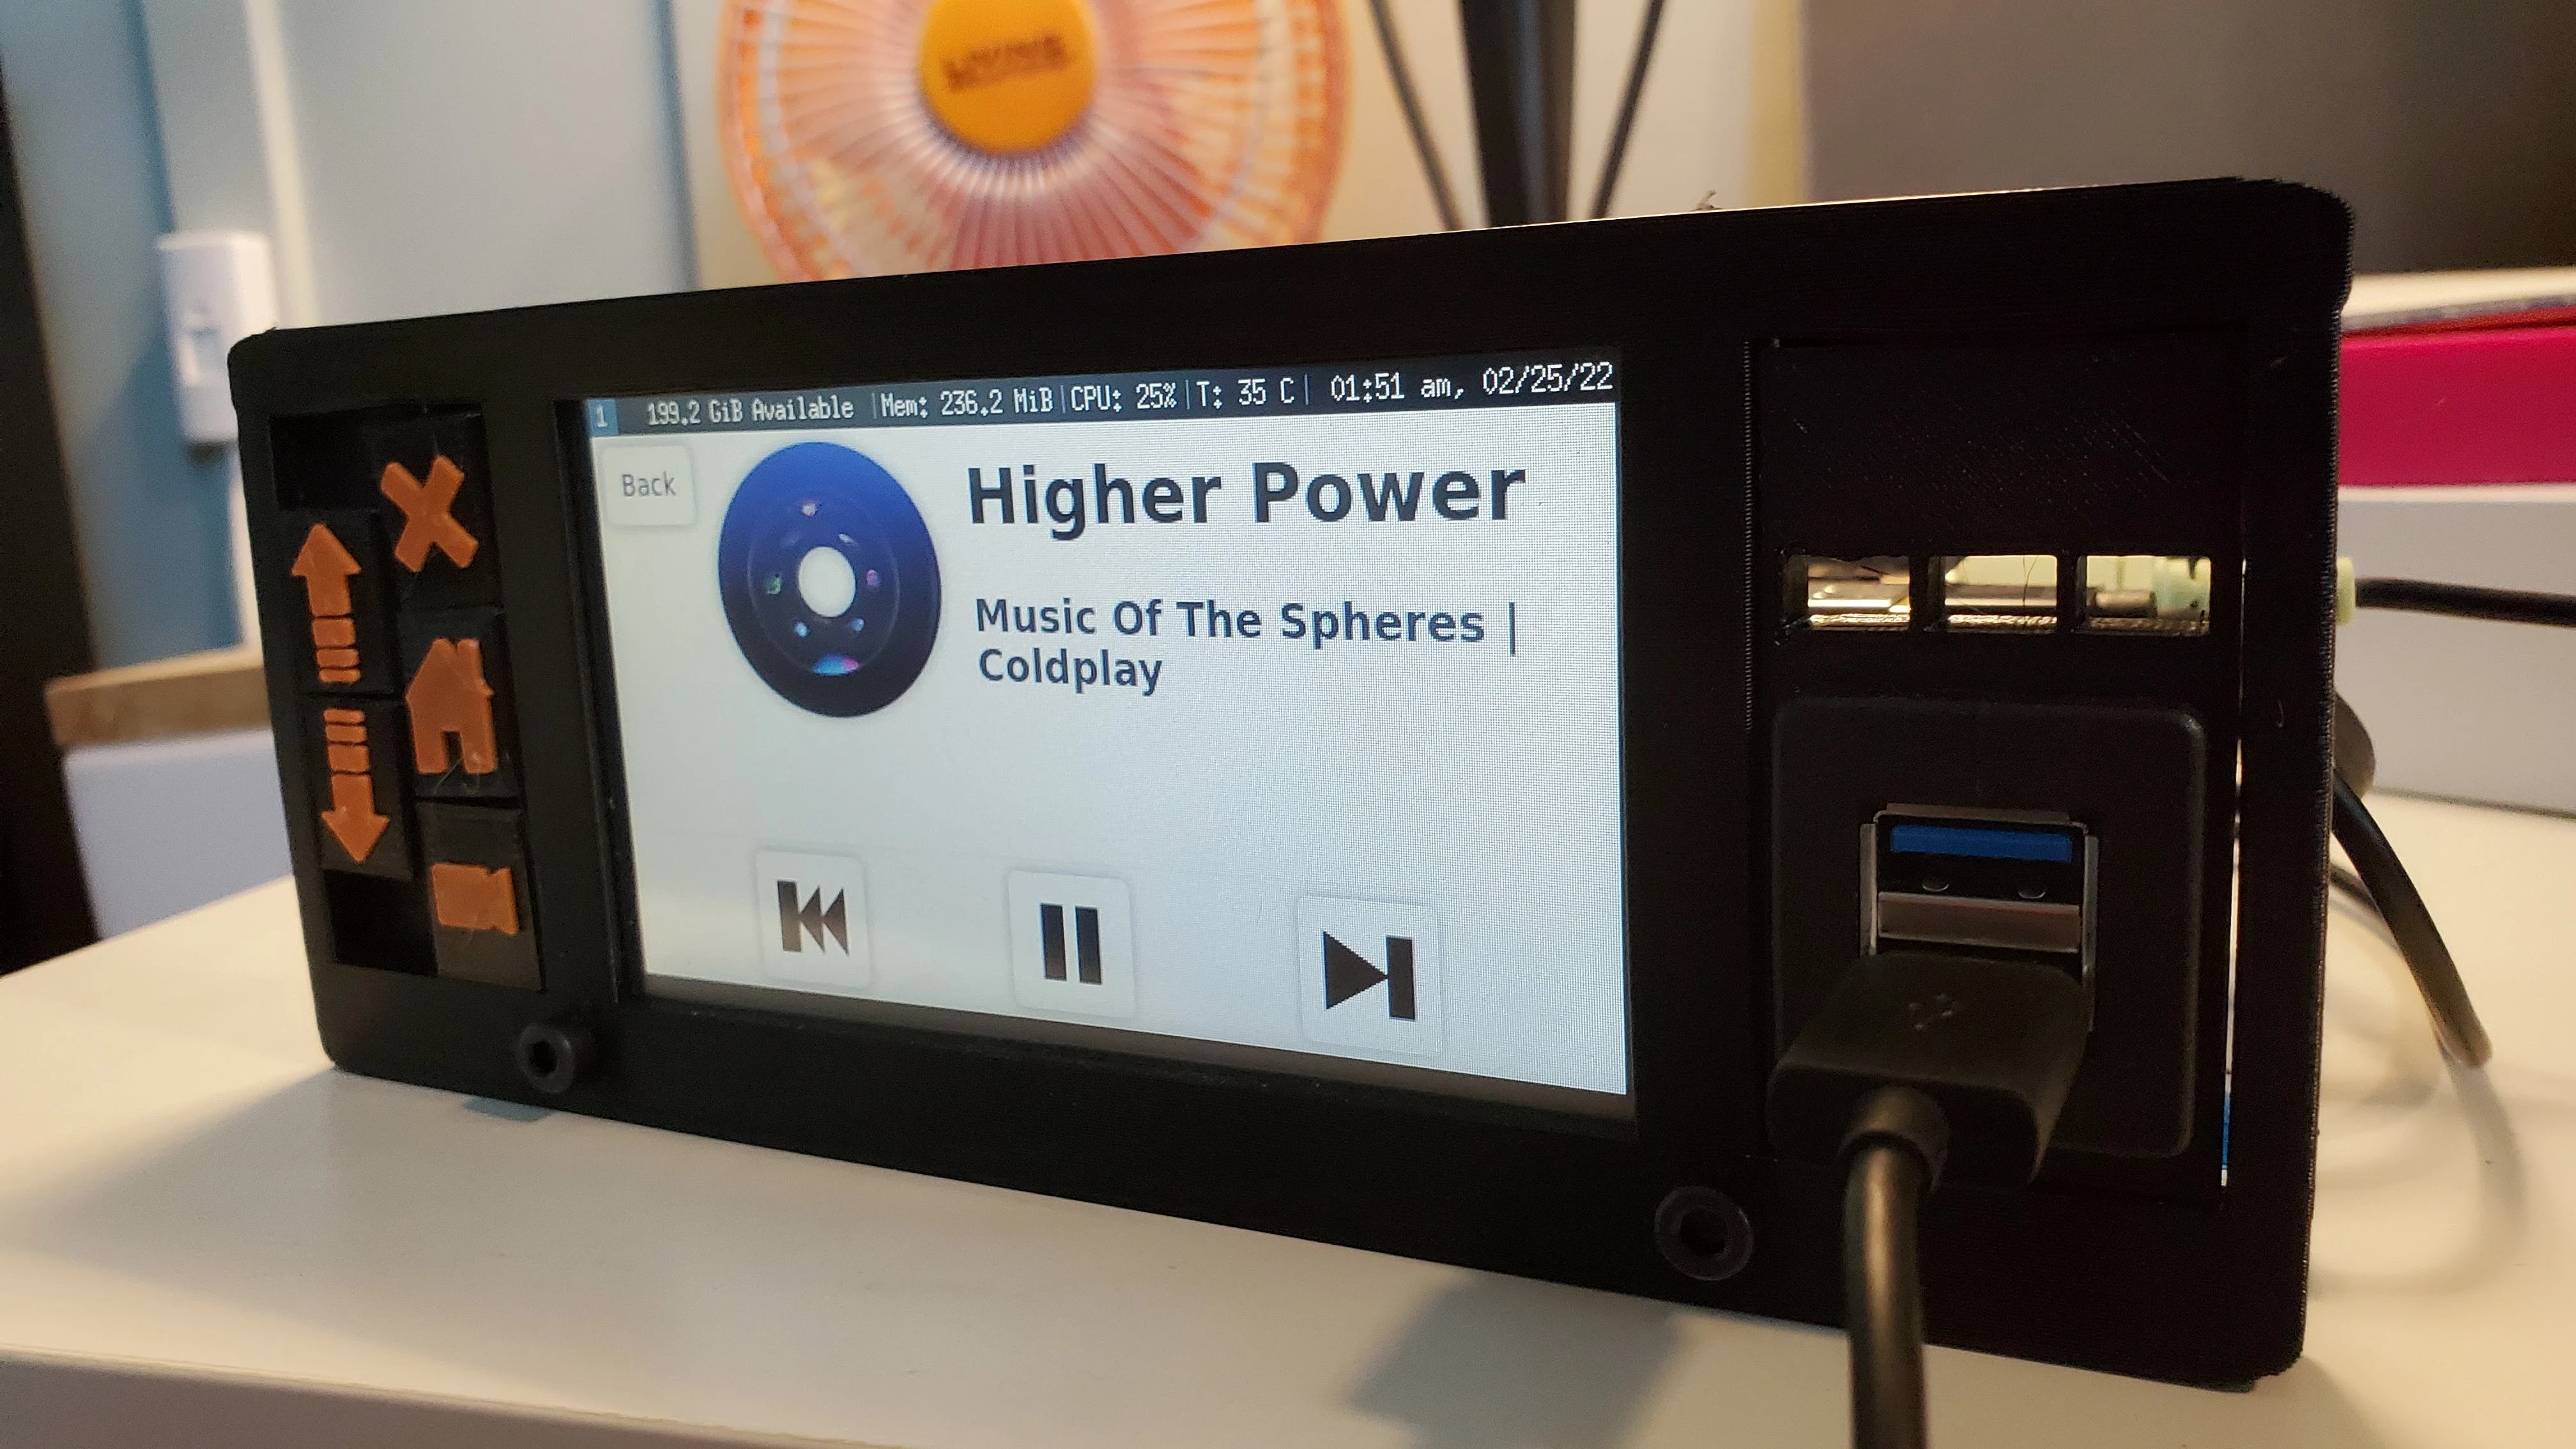
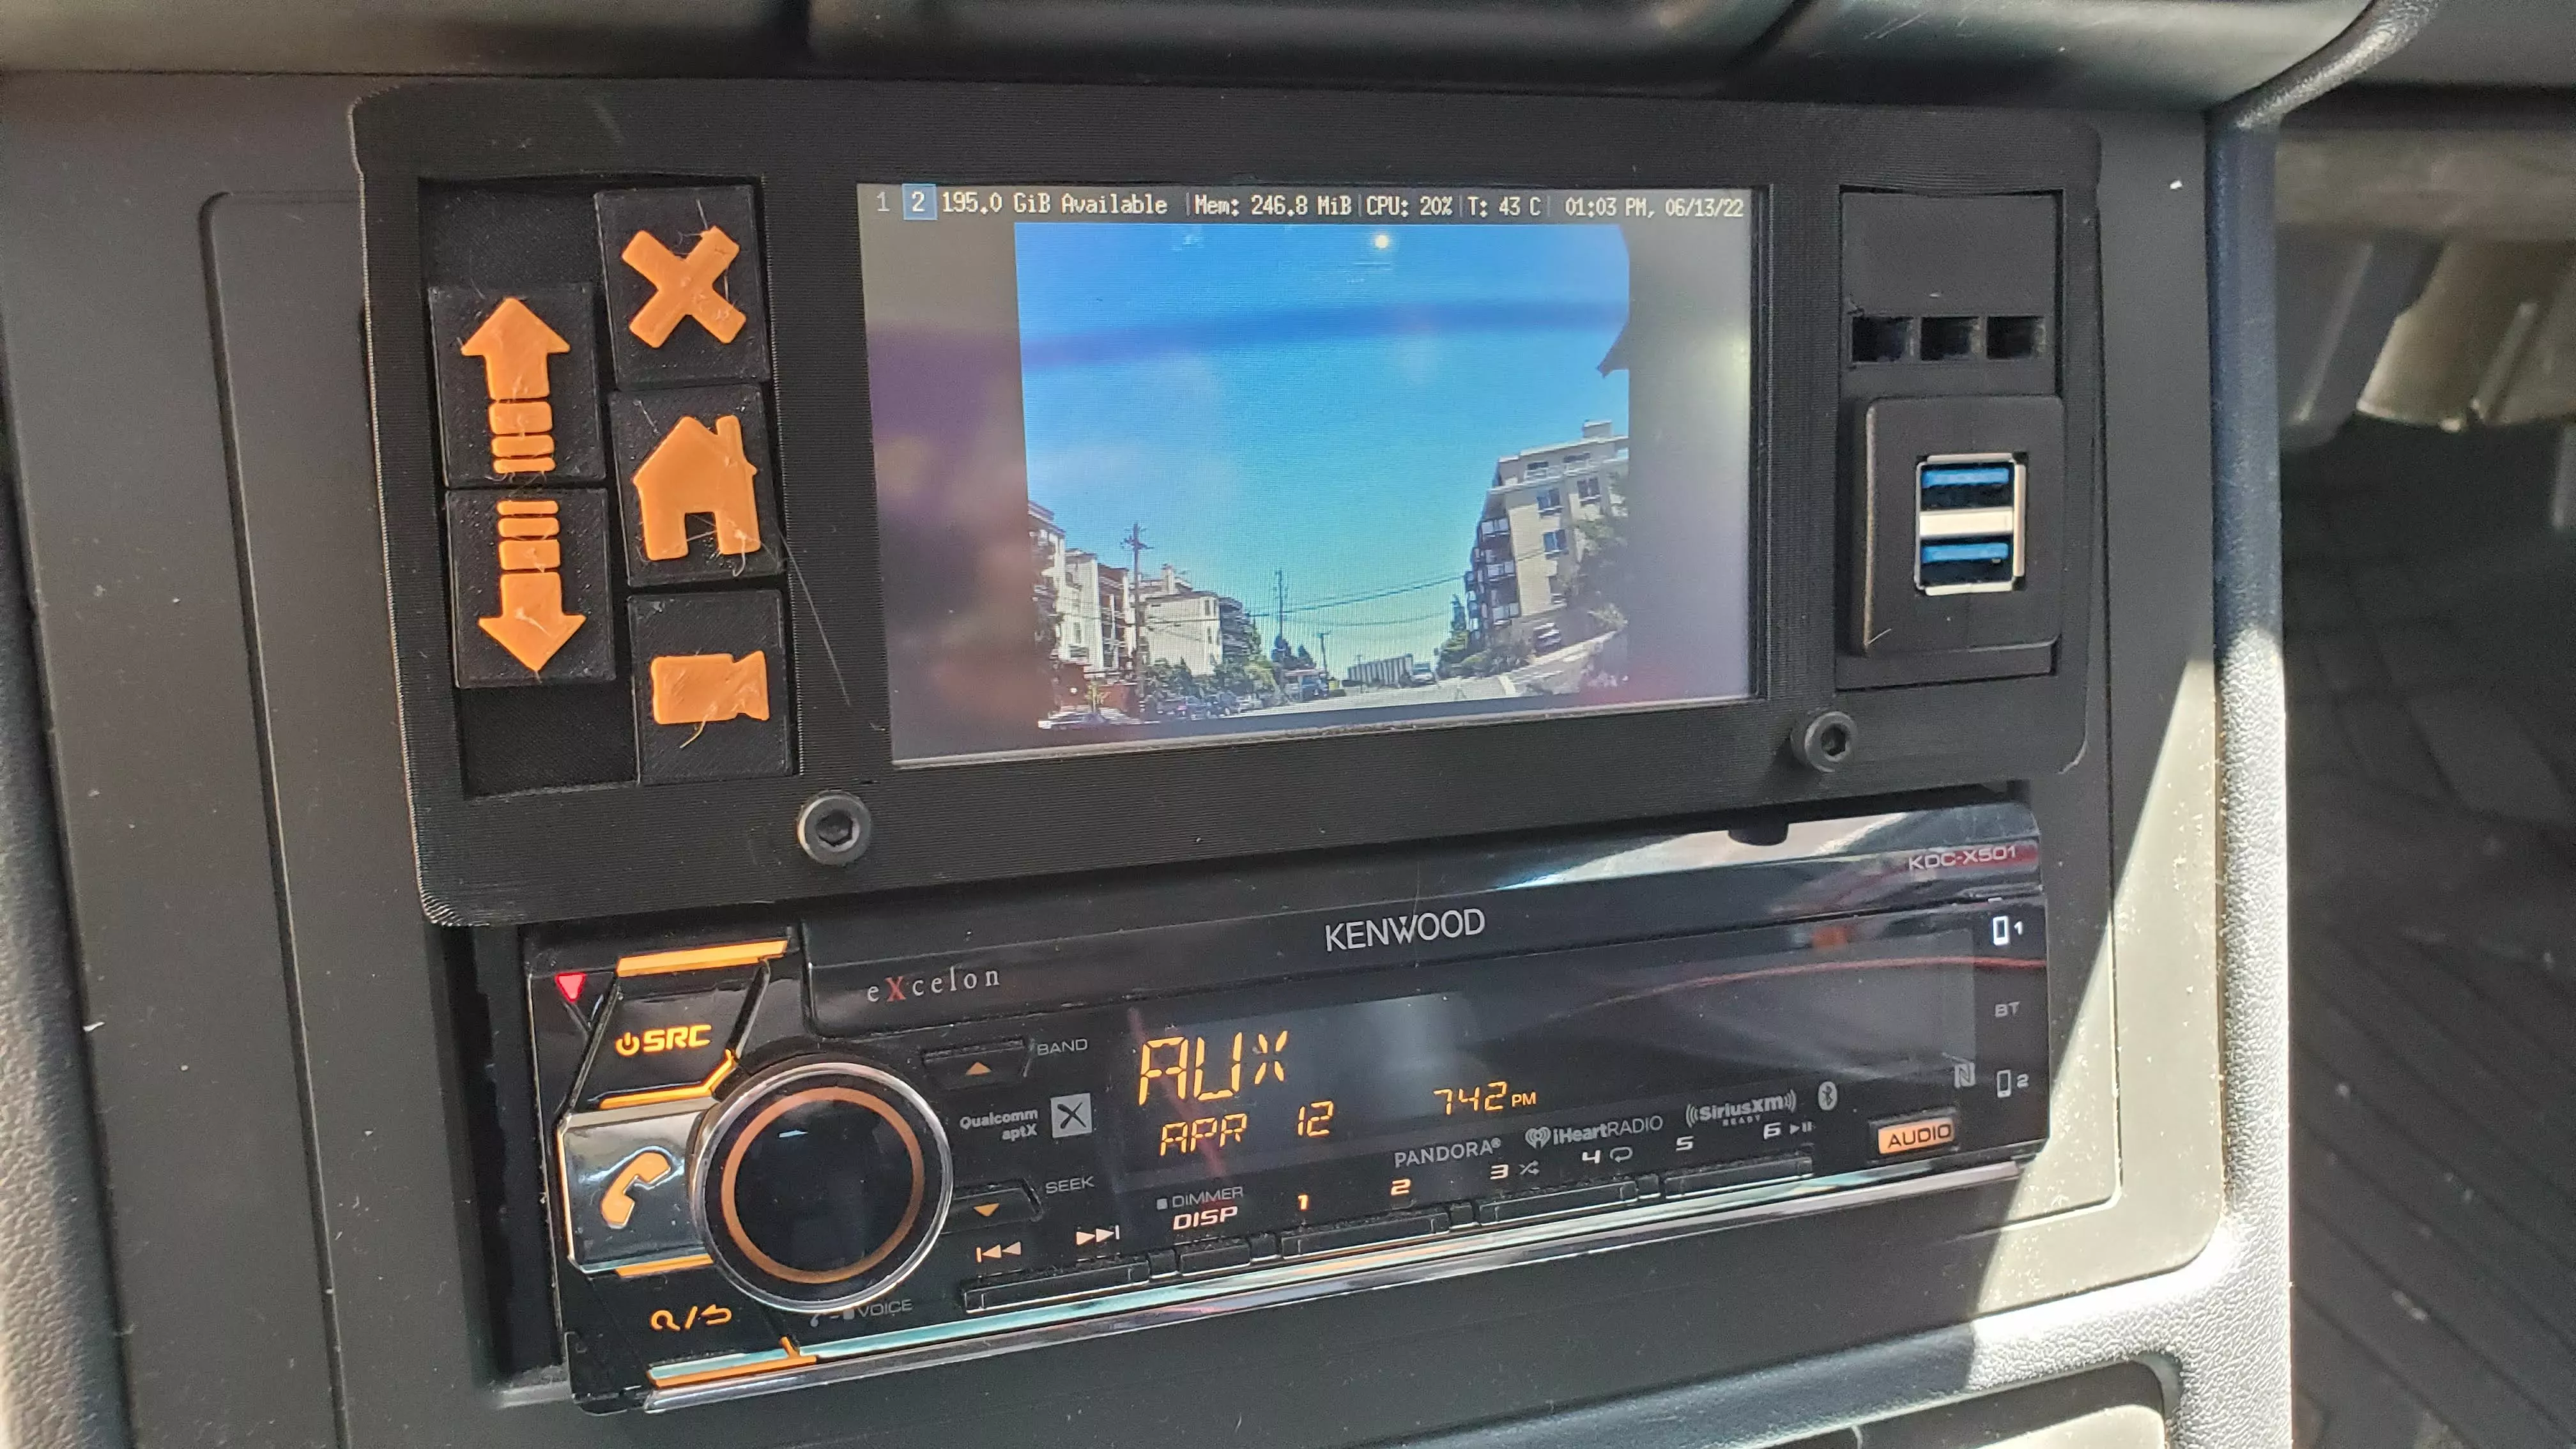
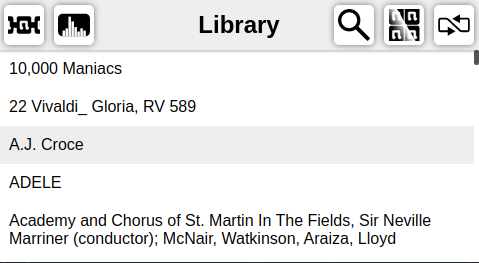
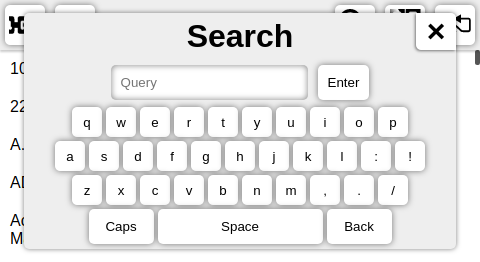
The first thing I wrote for the car computer is a simple Python script for the buttons. My script uses the i3-ipc library to interact with the window manager, enabling the close, home, and backup camera functionality. I then set up the arrow buttons to simulate a mouse scroll, so that it is possible to navigate apps without a keyboard or mouse. With my script running, it is possible to use the Thunar file manager to add music files off of a USB drive, meaning that I don't have to always have a keyboard in the back seat of my car. Next, I had a tough decision to make: Do it the easy way, using Electron, at the expense of performance; or listen to my friend Zorbulator and do it with rust. I decided to do it with rust using the sixtyfps library for graphics, and within a few hours I regretted it and changed my mind. Rust is a very difficult language to master, and creating a graphical application, even a simple one, is simply a bit too ambitious for someone who has never used rust before. It turns out that the Pi 2 is plenty fast enough to run a basic electron app, and within a week or so, I had a mostly working prototype of my music player, which I named Tamarack after a small town by my mom's cabin. I designed the interface around the principles that it should be as simple as possible such that you can "set it and go" without having to interact with it again. The music player worked quite well at this point, however when I tested it on my full music library (over 15GB), it took an unreasonably long time to create an index of the music, which was unacceptable because it meant that I would have needed to wait until I was going to drive for longer than 30 minutes to add any music. I narrowed down this slowness to the library that scans media tags from the songs. To address this, I turned back to rust. This time, I set my goal to something attainable, creating a JSON-formatted index of songs for my Electron app to use. Using this rust program, which I refer to as RustyScanner, I was able to bring the indexing time down from nearly 30 minutes to no more than 2. I am making both of these programs open-source in the hopes that they might be useful to someone else in the future.Tamarack Source Code
RustyScanner Source Code