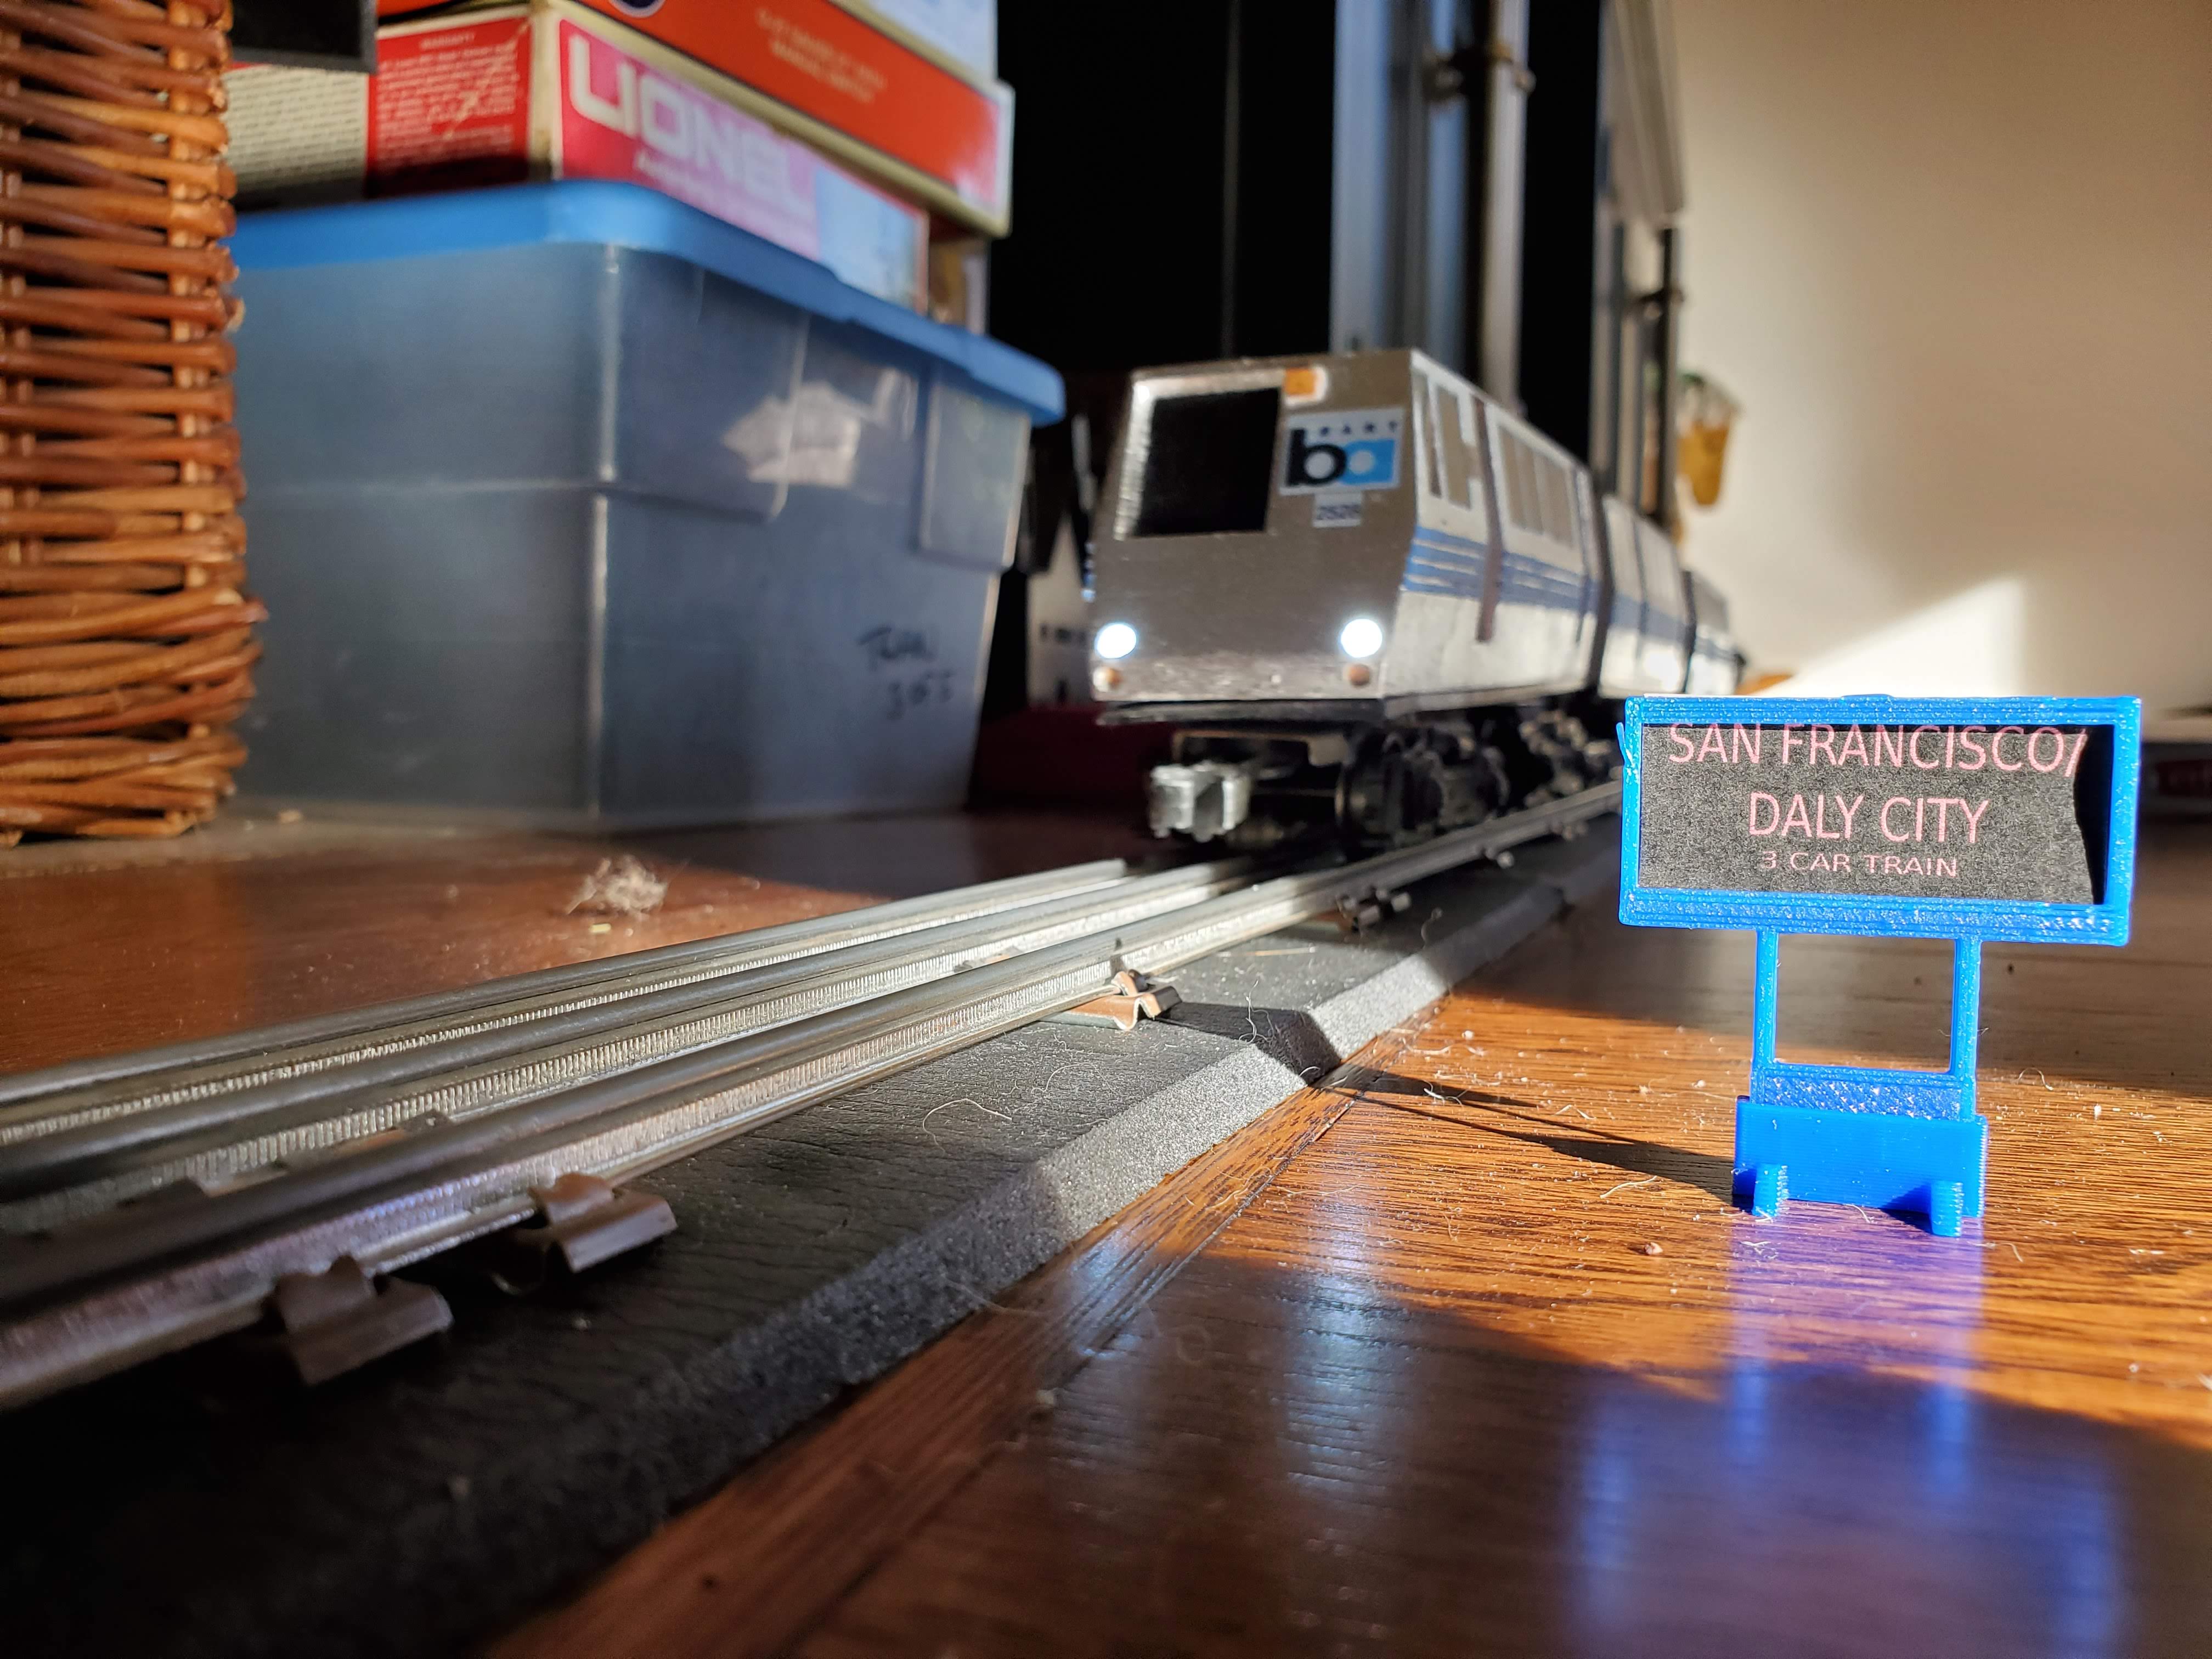


The Idea
In my family, we have a tradition of setting up O-Scale model trains around the Christmas tree, and occasionally at other times of the year we would bring out the trains just for fun. As a Bay Area native, i've always thought about having a BART train, however I've never been able to find any O scale versions (There is one HO Scale kit that is periodically in stock on eBay though). Therefore, out of COVID lockdown boredom, I decided to 3D print one myself.
Modeling the Train
I have to admit that TinkerCad is not a very feature-packed program and that I likely would have been able to make a more detailed model had I been good at using a something like OnShape. In spite of this, I actually managed to make a model that was quite detailed, although my poor computer was not doing so well by the end on account of JavaScript being slow. I modeled most of the train in one afternoon, although I put finishing touches on it periodically for the next few days
Making the Electronics Work
In order to get a better sense of how these trains worked. I removed the cover of one of my dad's trains to see what was going on. Luckily it's just based around a self-contained motor unit that runs on a variable 5-18V AC current from the track. Outside of that was a simple direction switching mechanism and an incandescent bulb (This particular engine is over 40 years old). After some searching on eBay, I picked up some used Lionel train parts, specifically a motorized wheel carriage and a passive wheel carriage capable of picking up power from the track. Armed with my trusty multimeter, I was able to make the motor run within a few hours. A motor and a wheel carriage connected with a few wires is still far from being a train, so I modeled myself a base plate, printed it, and had the mechanical part of my BART engine more or less ready to go. Unfortenately I did end up breaking one of the clips that holds the motor unit onto the base plate, so I had to design a 3D printed clamp thing instead.
Finishing the Engine
I modeled the chassis and the baseplate to screw together easily using some screws and nuts from my local hardware store, so as soon as I printed the chassis. I was able to screw the two pieces together and have a test-run, and everything was working. I took the chassis off, painted it with the help of my step-sister, and my train was ready for r/Bart. Now I have to admit that it's not perfect, it leans forward (maybe because of how I mounted the wheel carriage), sparks quite a bit on the sharper O-27 turns, and has a weird smell, which is likely because of the sparks; but overall, I am pretty impressed with it.
Improvements
While the original version was certainly cool, I was not completely satisfied with the way it looked so I decided to add some cosmetic upgrades. The first of these was to add functional headlights. This entailed installing an AC to DC converter inside the train to convert the variable 6 - 18v AC power that the motor runs on to something suitable for LEDs. I also had to drill out holes in the chassis for the LEDs. After a some simple soldering, I ran the train and the headlights sprang to life. Next, I repainted the engine using silver spray paint and painters tape for the stripes to get much cleaner lines than before, and created two new cars to go with the engine (because after all it's not really a train with just the engine). Unfortunately, the cars did suffer from some relatively minor warping during the print process, so the roofs aren't perfectly straight, but they turned out quite well anyway.
Future Plans
If I have time I might eventually try and re-print the base plate on the engine. Lowering the mounting point of the front-wheel carriage by about 5 millimeters would most likely fix the forward lean, and moving it forward would likely help in on the turns (as the two wheel carriages won't have to turn at such extreme angles relative to the train. If I do every get back around to it, I'll be sure to post an update here. Also I really want to learn FreeCAD at some point.


